I have come across customers who are on Symantec Endpoint Protection Manager 11 and are gearing to migrate / upgrade to Symantec Endpoint Protection Manager 12.
The Challenge / dilemma they face is whether to retain the existing SEPM 11 or setup a parallel new SEPM 12 environment.
o The simple reason could be either
o They don’t want to upgrade their existing SEPM server, incase there is an issue during SEPM upgradation.
o They want to install SEPM 12 on a new set of Hardware.
o They don’t have the encryption key, incase there is an issue during SEPM upgradation. They will have to start all again and the clients will not be able to communicate with current SEPM 11, until the clients receive new sylink.xml file.
Note: As a security measure, most of the organizations have File and Print services disabled.
o If a new parallel environment is created, there is no mode of communication between both the Independent SEPM.
Protecting your endpoints with only Signature based protection is not enough. You also need to install the latest SEP 12 software.
I would like to present a solution where you can move the existing SEP 11 clients from the old SEPM 11 to new SEPM 12. It can also be used to move clients from an independent SEPM to another independent SEPM.
So here is how SNAC can help you tackle this problem.
The best part is this requires no Hardware enforcers or DHCP software plug-in to be configured.
Pre-requisites:
1. Make sure your SEPM 11 is SNAC ready. In Policies Tab you see Host Integrity Policy option, if not you can add SNAC.xml file to the License folder in SEPM.
Note: Please restart SEPM services, on adding SNAC license.
2. Ensure SEP is functioning properly on all SEP clients
3. On SEPM 12, create New groups / similar groups as seen in SEPM 11
4. Copy the sylinkdrop.exe file and sylink.xml to a shared network folder or an internal Http / FTP site
a. Sylinkdrop (SEP 11 CD2\Tools\NoSupport\SylinkDrop) – This version of sylindrop doesn’t require network privileges and will be executed locally.
b. Sylink.xml from the New SEPM group, respective clients will communicate to the respective groups in new SEPM
Let's see how to create an HI policy, to move SEP clients reporting to SEPM 11 to another SEPM 12.
1. Login to SEPM
2. Click on Policies and select Host Integrity
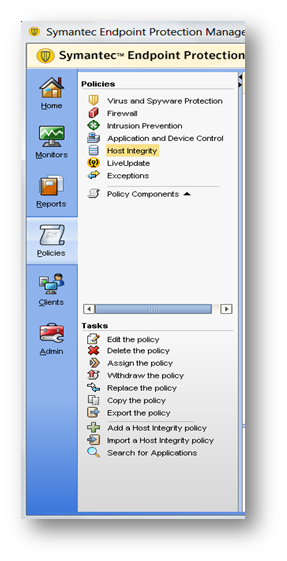
3. On the Right Pane, right Click and Select “Add”

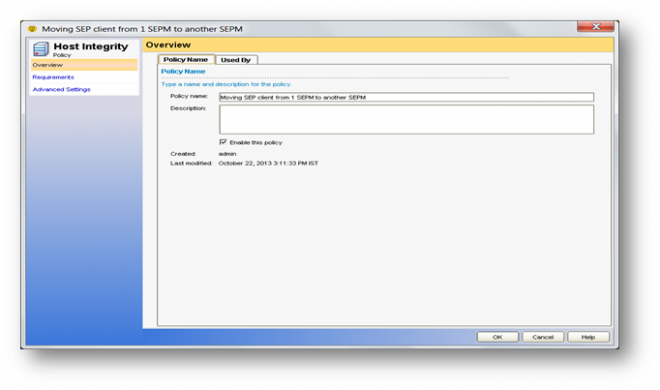
4. Enter a description for the policy
5. Click on “Requirements”
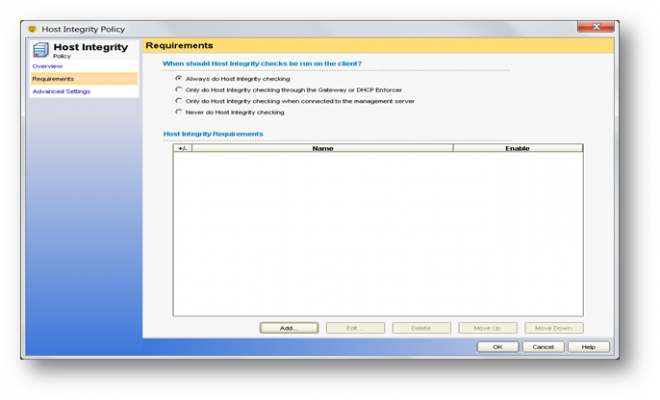
6. Click on “Add”, select “Custom requirement” and click “OK”

7. Click on “Add” and select “IF... THEN”
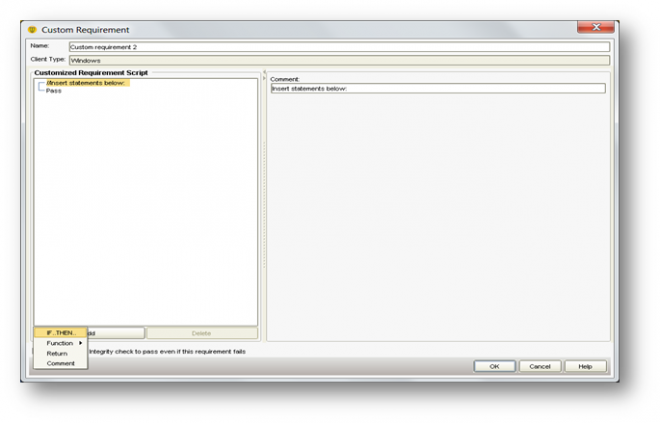
8. On the right pane
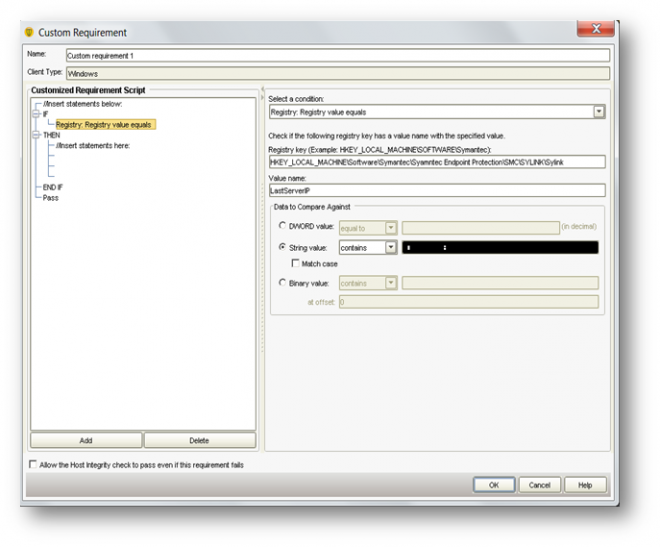
o In Select a condition ---> Scroll and select “Registry: Registry value equals”
o Under “Registry Key” --->, Enter the Value “HKEY_LOCAL_MACHINE\Software\Symantec\Symantec Endpoint Protection\SMC\SYLINK\Sylink”
o Under “Value name” ---> Enter “LastServerIP”
o Under “Data to compare Against” ---> click on “String Value” and enter the SEPM 11 IP address (1.2.3.4)
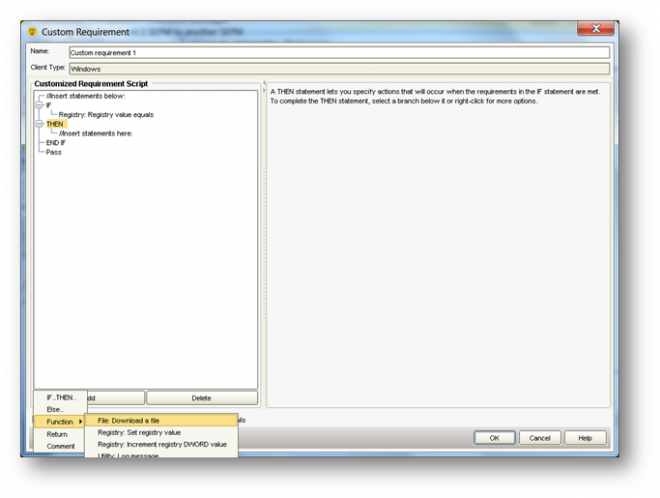
9. On the Left Pane ----> click on “THEN” ---> click on “Add” ---> click on “Function” and select “File: Download a File”
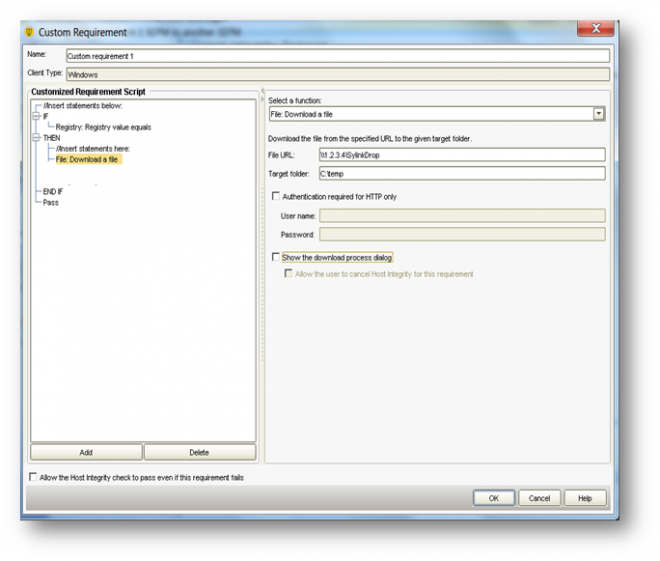
10. Under “Download the file” --->Enter the path to “download the file - SylinkDrop” and provide a “Target folder” locally
o If authentication is required provide the credentials
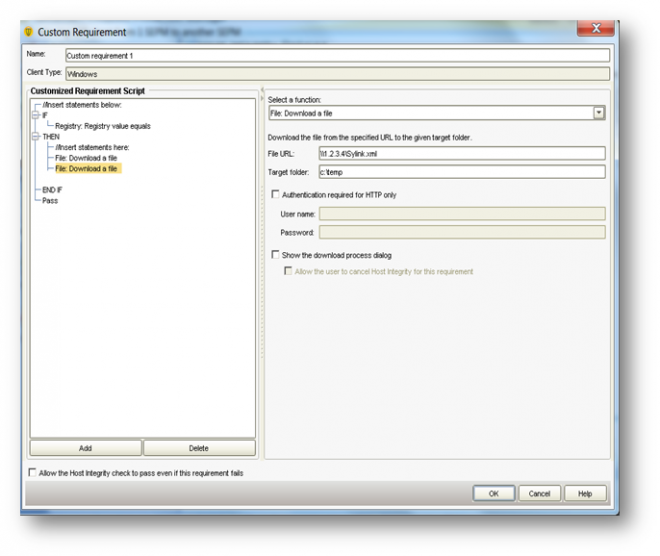
11. Click on “Add” ---> click on “Function” and select “File: Download a File”
o Under “Download the file” --àEnter the path to “download the file – Sylink.xml” and provide a “Target folder” locally
o If authentication is required provide the credentials
Note: You will have to upload new Sylink.xml with respect to the new groups in new SEPM 12. So the path will change for eg:
Group A: path to download will be \\1.2.3.4\A\Sylink.xml
Group B: path to download will be \\1.2.3.4\B\Sylink.xml
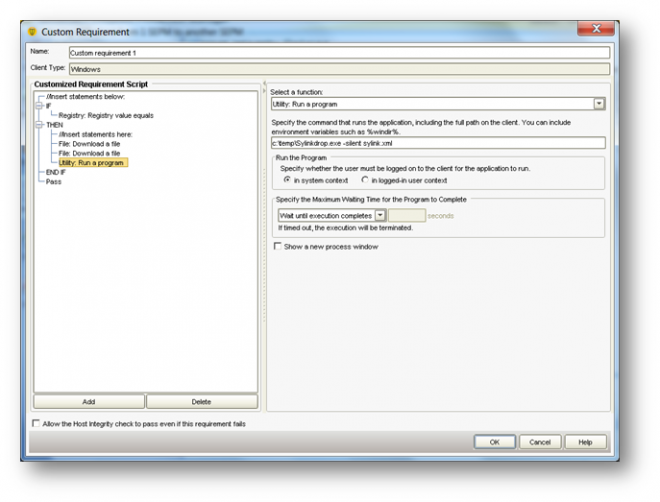
12. Click on “Add” --àclick on “Function” and select “Utility: Run a Program”
o Under “Specify the command” enter the variable “c:\temp\Sylinkdrop.exe -silent sylink.xml”
o If the SMC service is password protected, enter the password within the variable
The syntax of this comman
i. SylinkDrop [-silent] [-p password] [SylinkFile]
-silent Hide user interface
-p Use this argument if Smc requires a password to stop
password Password to stop Smc
[SylinkFile] Specifies drive, path, and filename of the sylink.xml file
13. Click on “OK”
14. On SEPM 11:
o Assign the HI policy to a group
o On the next heartbeat the client will receive the policy
o It will download both the files
o Execute the command locally
o It will Stop “SMC” service, replace the sylink.xml file with the new sylink.xml file
o It will Start the “SMC“ service and client will start communicating with the New SEPM 12