Ghost Solution Suite offers an excellent toolset for imaging, including a ready-made PXE environment, central management console and scheduling. These are all excellent features for an imaging administrator to employ, as they enable efficient and scalable endpoint management. The learning curve necessary for setting this up is a bit steep, and many Ghost users may find that degree of management unnecessary. For them, there is Ghostcasting, an image deployment strategy that uses a combination of mature, "tried and true" technology alongside the improvements offered by Ghost Solution Suite 3, such as the inclusion of WinPE5 as its preboot environment.
The Ghostcast Server is a lightweight but powerful companion to the Ghost executables that can be used for multicast image deployment to a large number of machines. The Ghostcast Server is typically ran on the machine where the images are located. A session is created and named, and then is set to a ready state to accept clients. Client machines are then booted with boot media containing the Ghost executable to run in a preboot environment. After machines are booted, they are told to connect to the image creation session and begin the image creation process.
Prerequisite:
You will need a method to boot the client machine(s) into a Pre-OS environment. These instructions assume that you have boot media created by the Ghost Solution Suite 3.0 Boot Disk Creator. These instructions will walk you through creation of the boot media
Steps:
1. On the Ghost Solution Suite server, browse to \Program Files (x86)\Altiris\eXpress\Deployment Server\Ghost. Right-click GhostSrv.exe and choose Send To > Desktop (create shortcut). This is for ease of access.

2. Doubleclick the GhostSrv.exe shortcut to start it, and provide a Session Name. The example below specifies the session name as "Create".
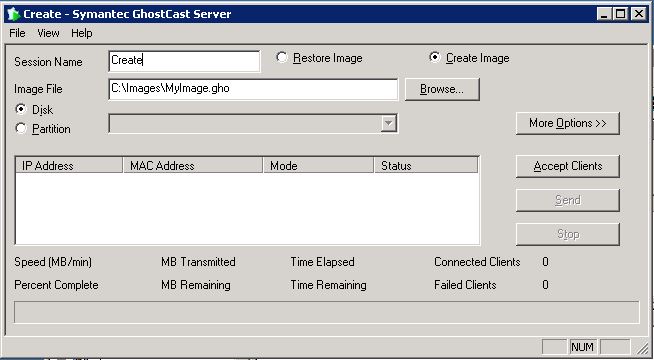
3. Choose Create Image, then click Browse. Choose the folder you would like to store the file in. to the *.GHO image file. The above example specifies an image named "MyImage.GHO".
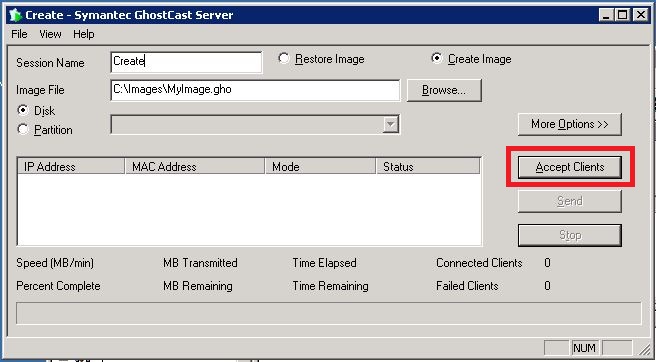
4. Click Accept Clients. The Ghostcast Server is now in a ready and waiting state.
5. Boot source machines to automation. From the X: command prompt, run the following:

Note: This example uses a 32bit WinPE PreOS. In a 64bit PreOS, use Ghost64.exe.
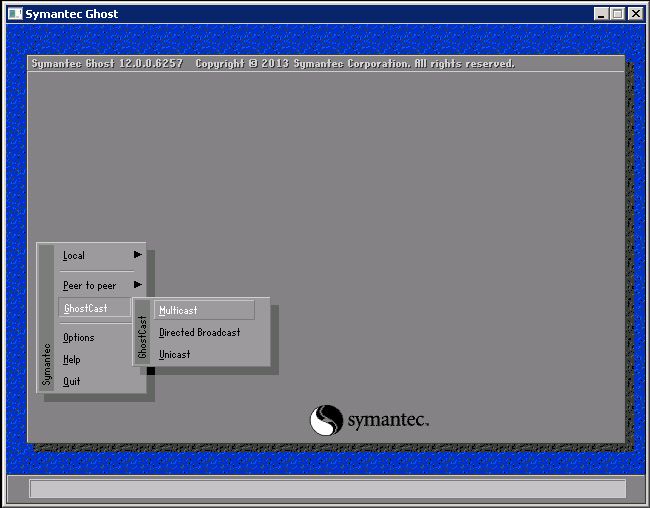
6. When Ghost launches, choose Ghostcast > Unicast or Multicast. Then type in the Session Name (from #2 above) and click OK.
7. The next screen will prompt you for the session name (the example above named that "Create"). Enter that and click OK.
8. Select the disk you want to capture. Please ignore the disk "80 - OS VOLUMES". You will likely have more than one disk if you have used a USB boot device. The best way to identify the disk is by size in MB.
9. Click Yes to the question "Proceed with image creation?".
This will allow you to create an image of a machine. This is a reliable method used currently by many imaging administrators as their primary method of image creation, and is an alternative to use of the Ghost Solution Suite 3 console.
Please Note: The above process only yields a backup image. To create a deployable image, Microsoft Sysprep must be run on the source machine, as this will remove the Security Identifier (SID) and Hardware Abstraction Layer (HAL). It is advised that prior to running Sysprep on a machine, a backup of the maachine should be created.