Ghost Solution Suite 3 is a powerful suite that offers a great deal of features for imaging administrators, but using the console requires significant setup. Users of prior versions of Ghost should be familiar with the Ghostcast Server, and boot disk-based deployment. This article provides step-by-step instructions for creating the boot media necessary for this type of operation. This powerful and simple method is used as the primary method of deployment by many Ghost users, and the release of Ghost Solution Suite 3 (with its addition of WinPE 5 as its preboot environment) brings these capabilities to the current generation of machines. This companion article provides instruction on using this boot media for deployment via the Ghostcast Server. Please note that these instructions are for the Ghoost Solution Suite 3 Standard Tools, which is a separate installation than the one that includes the console. For details on the differences between the two install types, review this article.
Note: Boot media created by this process will also work as stand-alone boot media, such as USB-connected imaging.
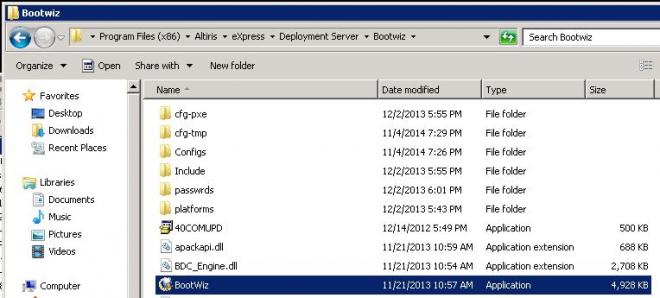
1. Browse to \Program Files (x86)\Symantec\Ghost\Bootwiz and double-click BootWiz.exe.
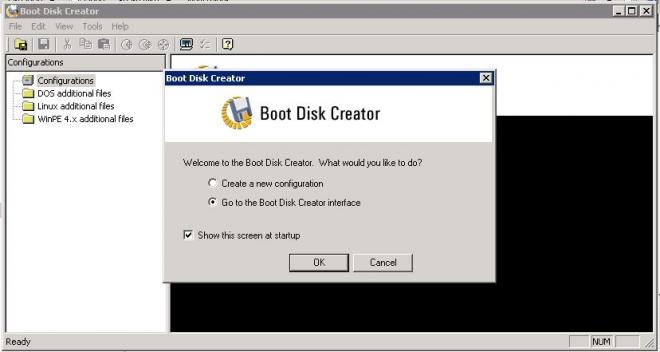
2. Once it launches, click the radio button for "Go to the Boot Disk Creator interface" and then click OK.
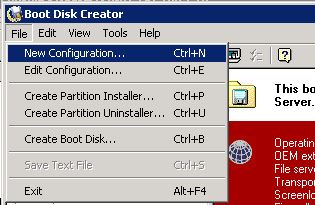
3. Choose File > New Configuration.
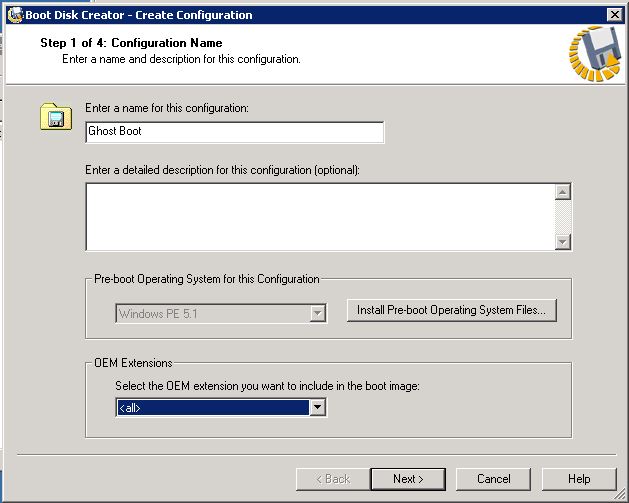
4. On the screen "Step 1 of 8: Configuration Name", provide a name (and description, if you wish) and select "Windows PE 5.1" from the drop-down for "Pre-boot Operating System for this Configuration" menu. For OEM Extensions, select "<all>". Then click Next.
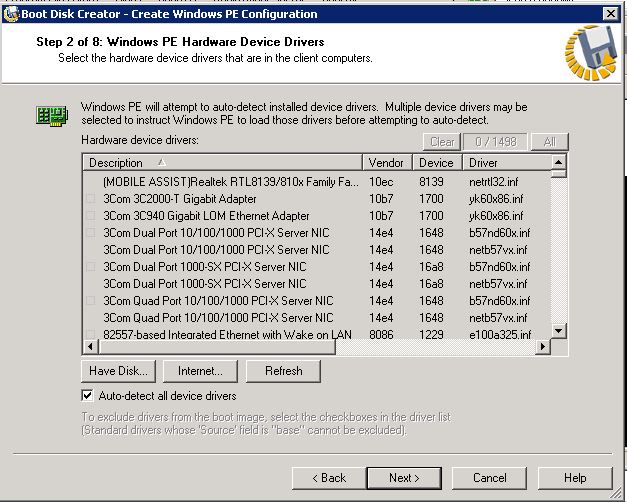
5.On the screen "Step 2 of 8: Windows PE Hardware Device Drivers", click Next.
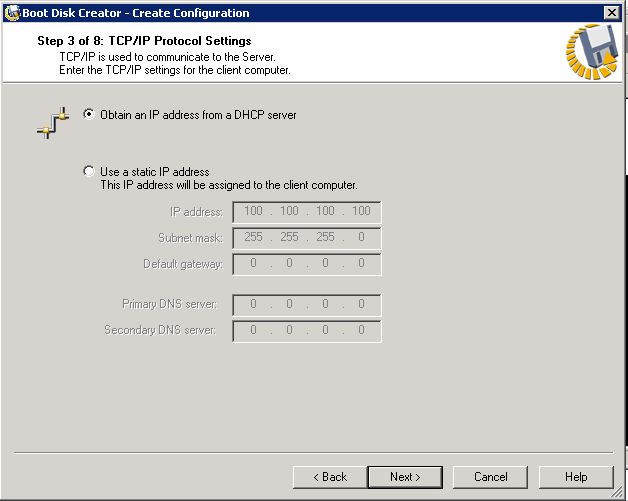
6. On the screen "Step 3 of 8: TCP/IP Protocol Settings", click Next.
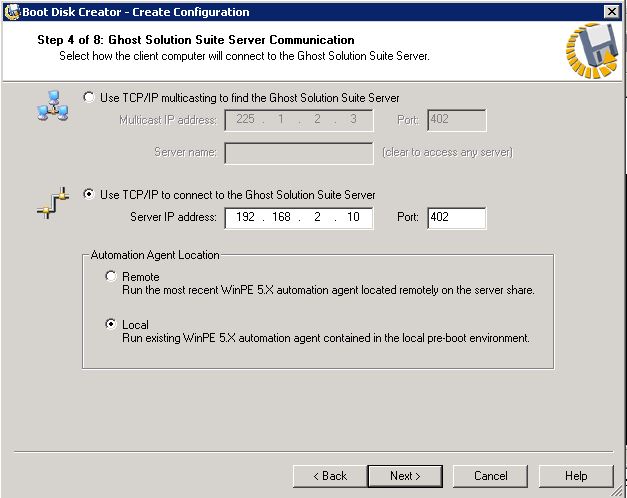
7. On the screen "Step 4 of 8: Ghost Solution Suite Server Communication", select the radio buttons for "Use TCP\IP to connect to Ghost Solution Suite Server" and "Local: Run existing WinPE 4.0 automation agent contained in the local pre-boot environment" and then click Next.
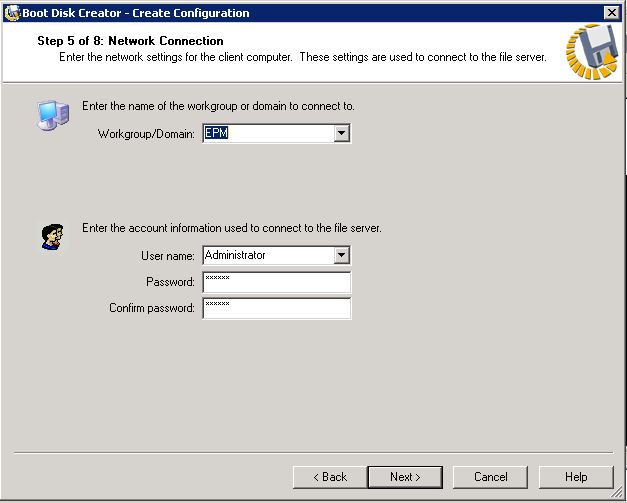
8. On the screen "Step 5 of 8: Network Connection", make sure the domain is selected and the credentials are correct. Then click Next.
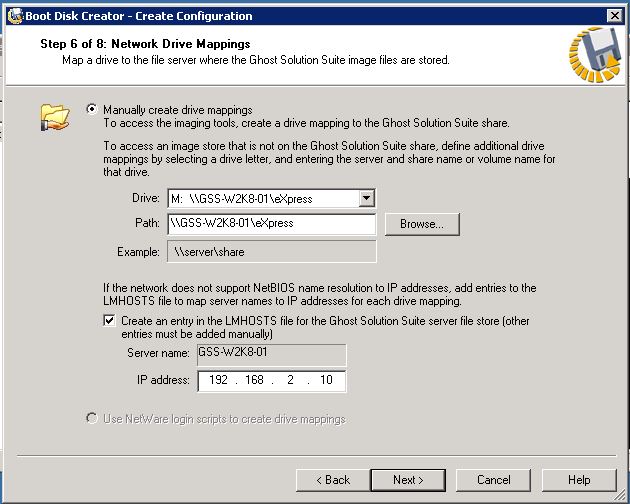
9. On the screen "Step 6 of 8: Network Drive Mappings", click Next.
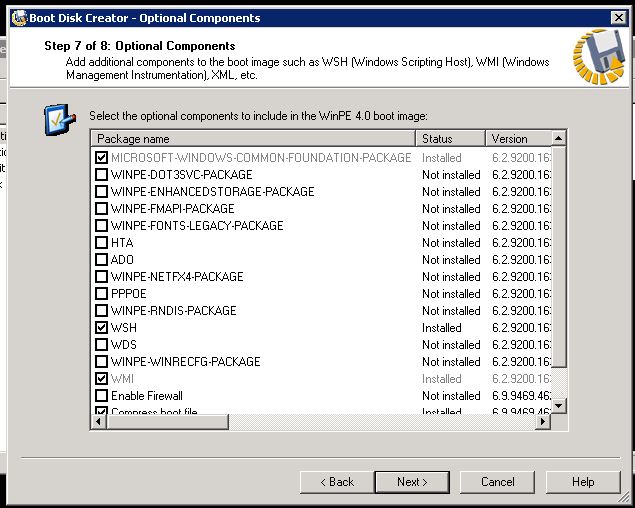
10. On the screen "Step 7 of 8: Optional Components", click Next.
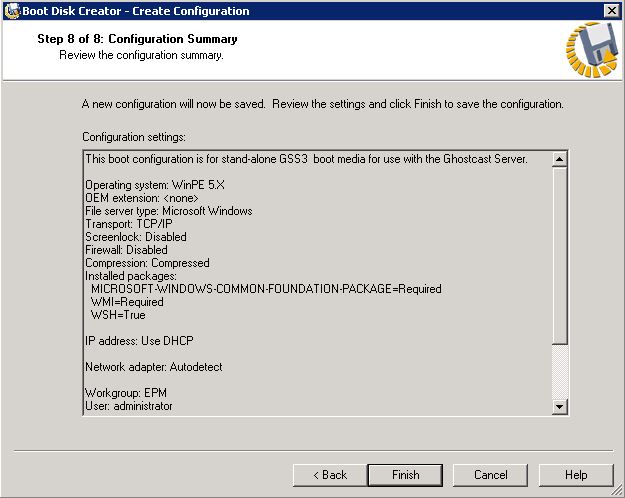
11. On the screen "Step 8 of 8: Configuration Summary", click Finish.
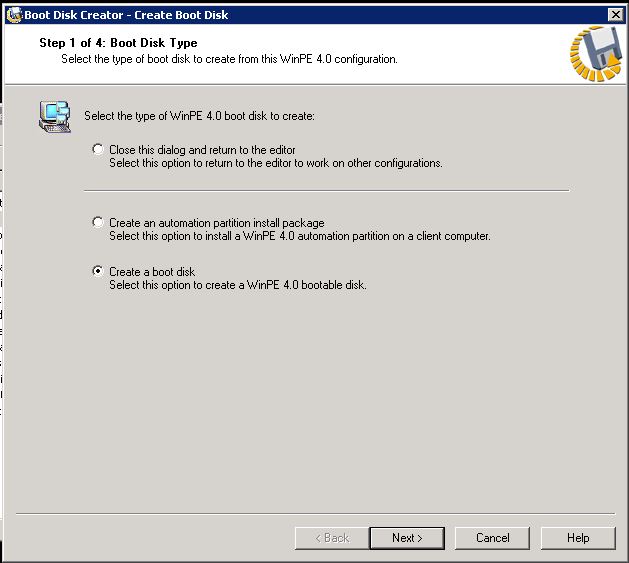
12. This will launch the "Create Boot Disk" window. Select the radio button "Close this dialog and return to the editor". Then click Finish.
13. You will now be back at the Boot Disk Creator Window, and the configuration you made will be visible in the left under "Configurations".
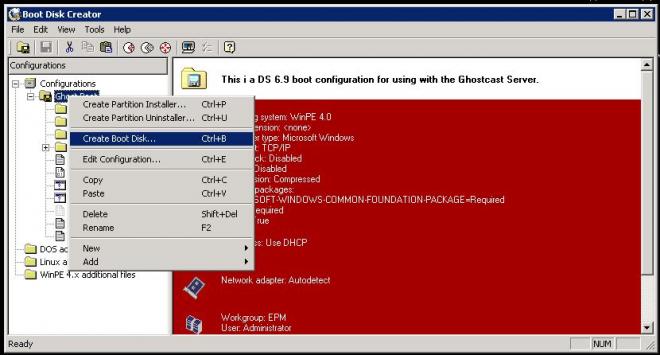
14. Right-click your configuration, then click Create Boot Disk.
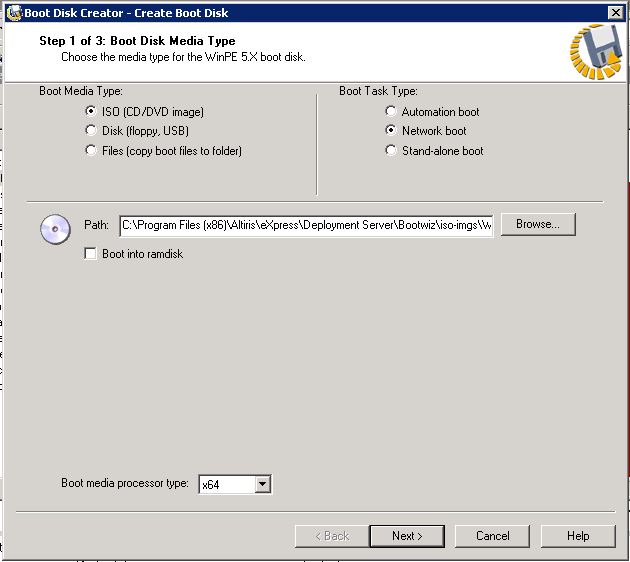
15. Select boot media type (you can create an ISO, or write directly to a USB flash disk). Choose Network Boot. Then set "Boot media processor type" to either x86 or x64.
Note: If you are creating stand-alone boot media, you can choose "Stand-alone boot" instead of "Network boot" to bypass the media loading network drivers.
18. Click Close on page "Step 3 of 3".
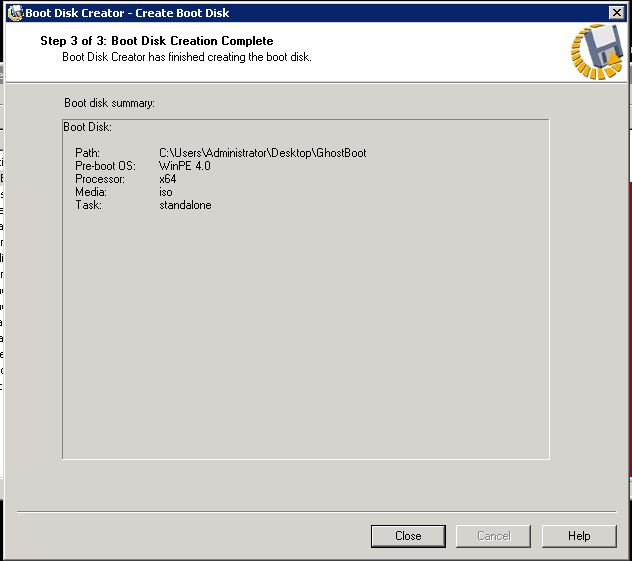
18. If you wrote directly to a flash drive, you are now finished. If you created an ISO file, it will need to be burned to a CD, DVD or USB flash drive. On a machine with a CD/DVD burner, you should be able to right-click the ISO file and choose "Burn disc image".
You now have bootable media that can be used with the Ghostcast Server.