For this demonstration, I will be using Symantec Endpoint Encryption 11.0.1 on Windows Server 2012 R2 Datacenter, 64-bit.

This demonstration assumes that you have a compatible database already created for use with the product. System requirements and compatible versions of MSSQL can be found here:
http://www.symantec.com/docs/TECH224478
This demonstration also assumes that you have properly prepared your server Roles and Features in preparation for installing the Symantec Endpoint Encryption Management Server. If you have not done so already, please check the following article for further instruction:
https://www-secure.symantec.com/connect/articles/symantec-endpoint-encryption-1101-initial-server-configuration
1. Download Symantec Endpoint Encryption from https://symantec.flexnetoperations.com

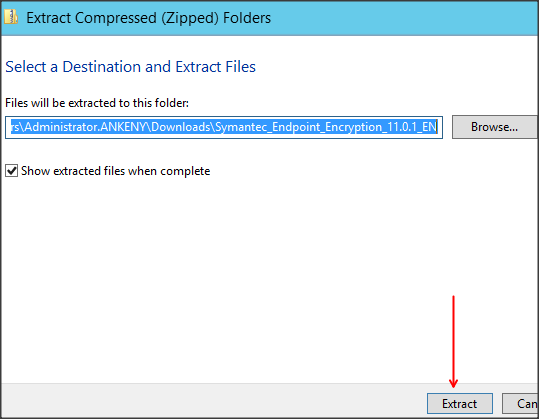
2. Right-click on the zip file, and select “Extract All...”. Choose a destination for the extracted files, and click “Extract”.

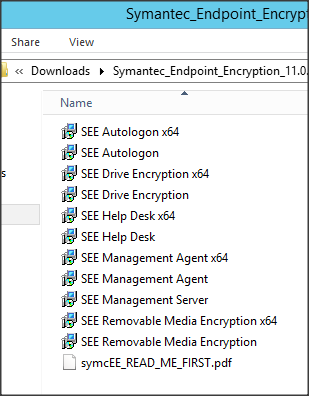
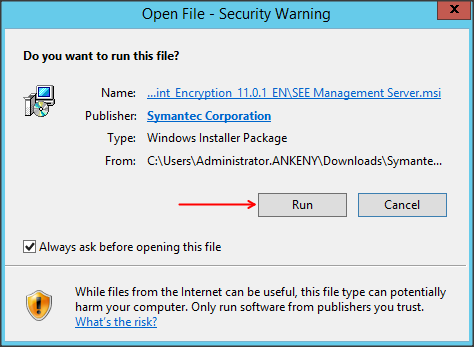
3. Double-click on the SEE Management Server package. The same package is used for 32- and 64-bit systems. When prompted by Windows Security, click “Run”.

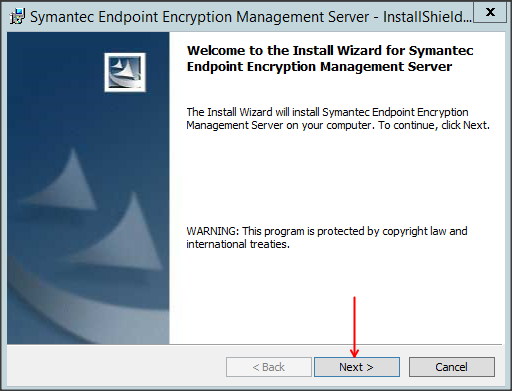
4. Click “Next”.
5. Read the License Agreement. When you are finished, if you agree, select “I accept the terms in the license agreement” and click “Next”.

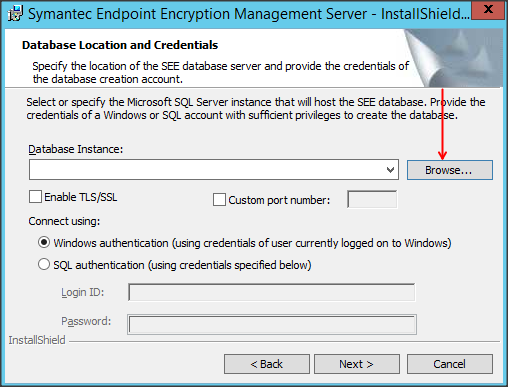
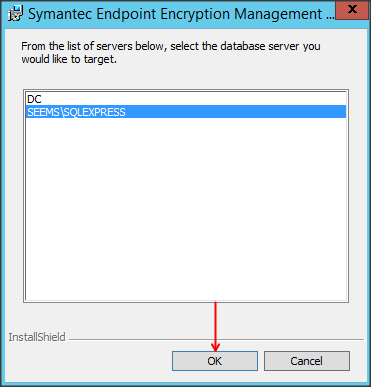
6. Next you will be asked to enter the database information for creating a new database instance to hold client system information. Click “Browse”. Select the database server you would like to use, and click “OK”.
7. Enter the credentials of an account that has privileges on the database server to create a new database instance, and create and modify a database user account and account privileges. Typically the “sa” account is used, but depending on your setup, this may use Windows credentials or other database credentials.

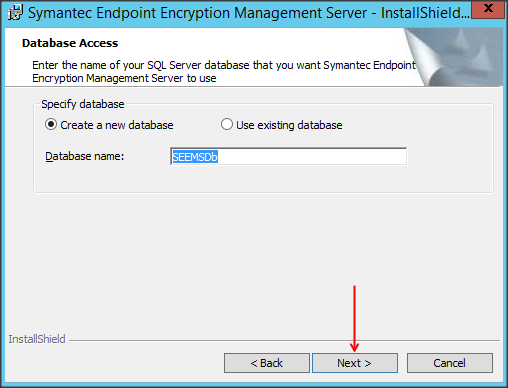
8. In this example, we are creating a new database, but if your environment has an existing SEE database, you can select “Use existing database”. Using the default database name of SEEMSDb is recommended, but not required.
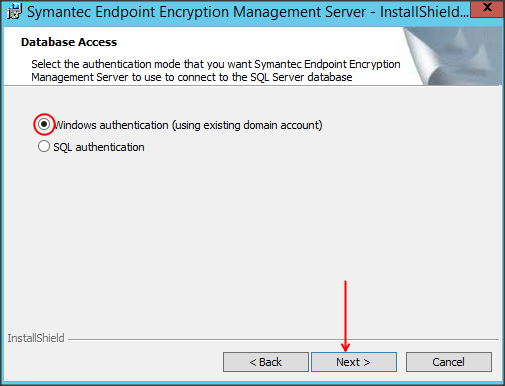
9. Next we will specify an account to be used for server communication to the database. It can be an existing domain account, or a SQL database account. The previous user credentials we used to create the database will also add this user to the database and assign proper permissions. In my example, I am using a Windows domain service account. Choose the account type and click “Next”.
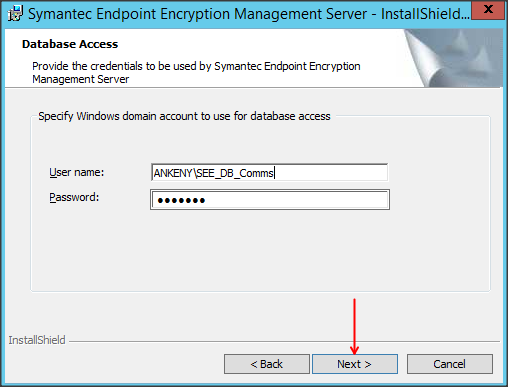
10. Enter the credentials for the communication account and click “Next”.
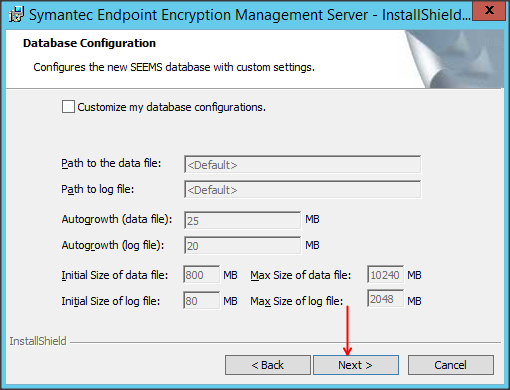
11. In most cases the database configuration/size will not need to be modified. Click “Next”.
12. Create a management password for the Symantec Endpoint Encryption Management Server. This password will be used for a few specific things, detailed on page 31 of the installation guide. After you create the password, click “Next”.

13. Select an installation path for the product, and click “Next”.

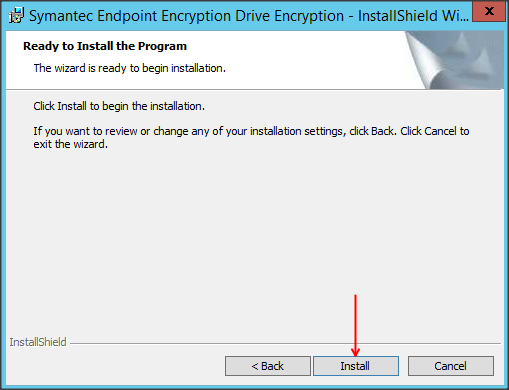
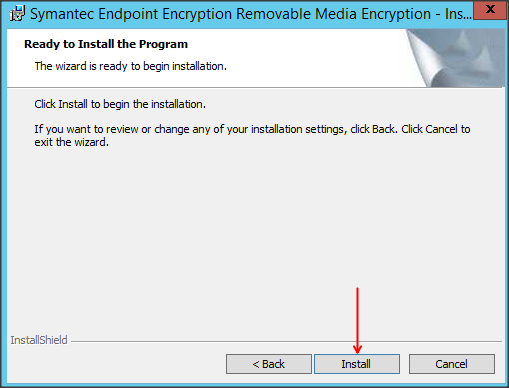
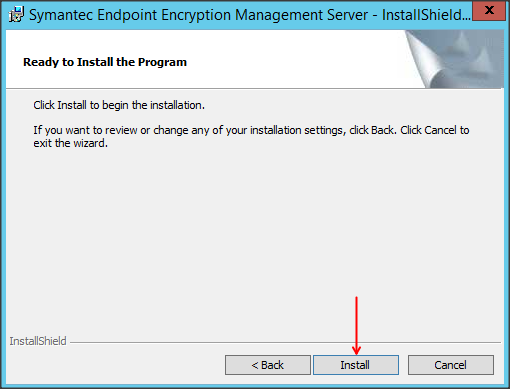
14. To begin the installation, click “Install”. If you want to change any settings to this point, click “Back”. When you click install, the program installation will begin.
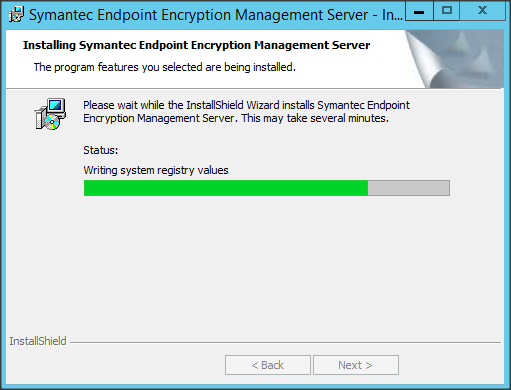
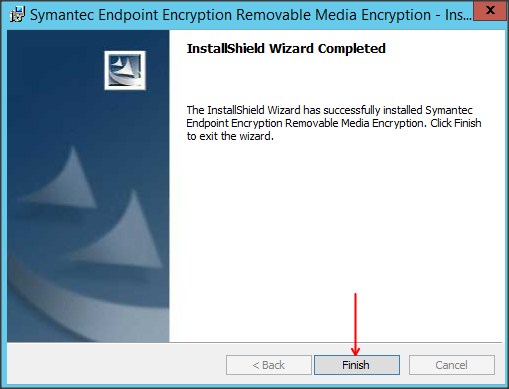
15. When the product finishes installation, click “Finish”. After a few moments, the SEE Configuration Manager will appear.

16. Choose whether you would like to submit anonymous data to Symantec to analyze and help improve the product functionality, and click “Next”.

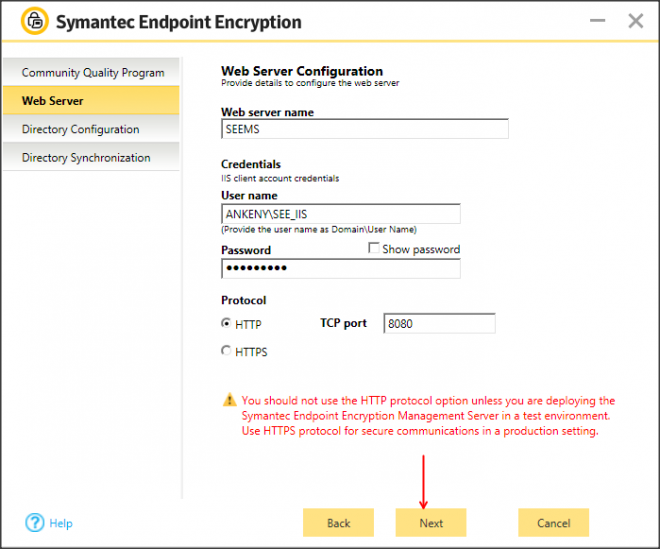
17. Enter the Web Server configuration data. It is recommended to use HTTPS, but for my purposes here I selected HTTP communication for client-to-server communication. A service account with a non-expiring passphrase should be used for access. The account only needs to be a standard domain user. When finished, click “Next”.
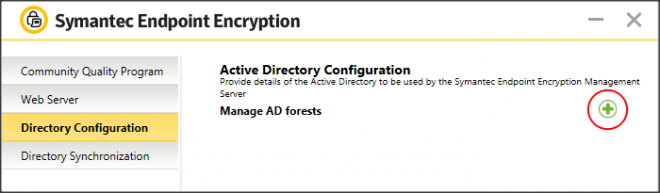
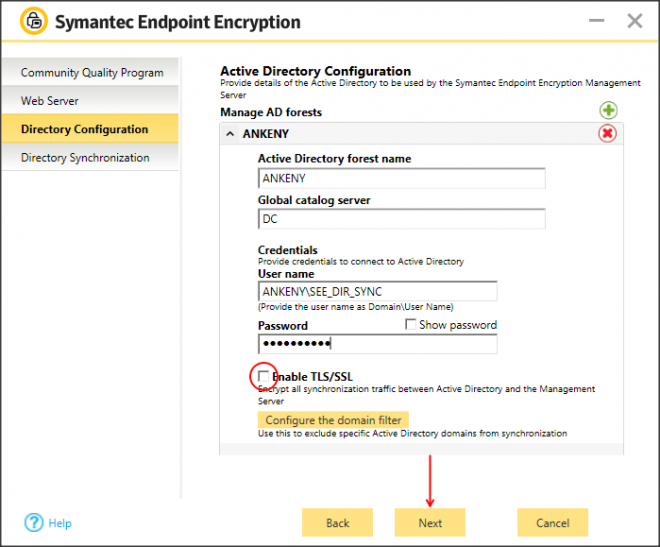
18. Click on the green “+” symbol to set up AD configuration.
19. Enter your AD Forest information. You will need to use an AD account to facilitate communication with a catalog server to complete AD Sync. We again recommend using a service account with a non-expiring password. TLS/SSL is recommended. When finished, click “Next”.
20. Click “Finish”.


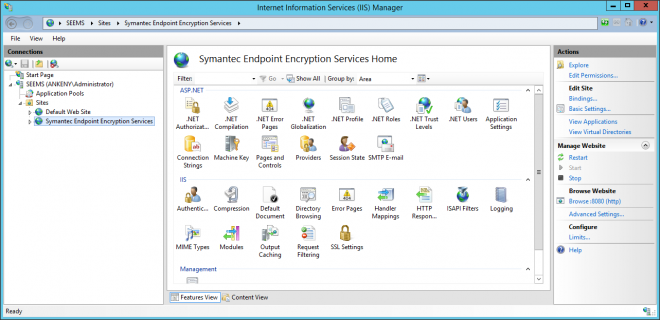
21. Open the IIS Manager. You should now see a web site with Symantec Endpoint Encryption Services. After verifying this, close the IIS Manager.
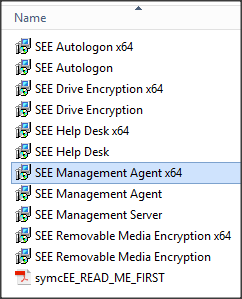
22. Next we will also do a brief walkthrough for a few component installations. Since everything else requires the Management Agent, we will start there. Double-click the SEE Management Agent appropriate for your server. Mine is 64-bit, so I have selected the 64-bit installer.
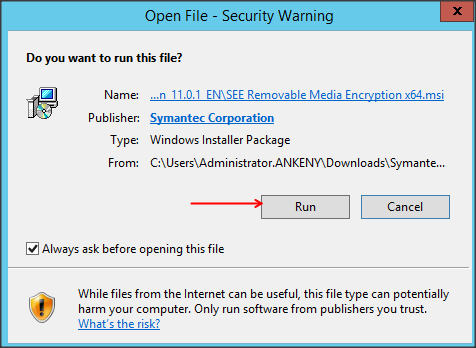
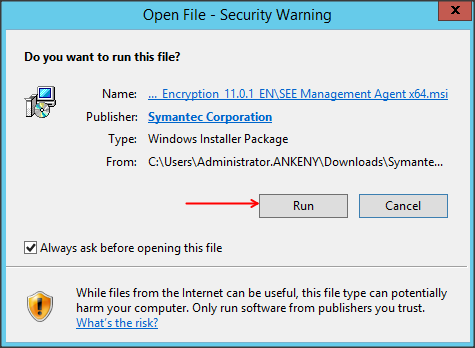
23. Click “Run”.
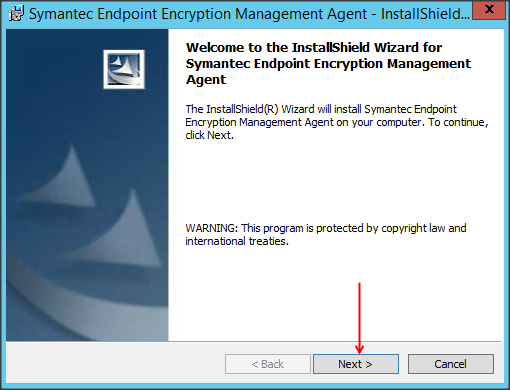
24. Click “Next” to begin installation.
25. Read the next screen regarding multi-factor authentication, and click “Next”.

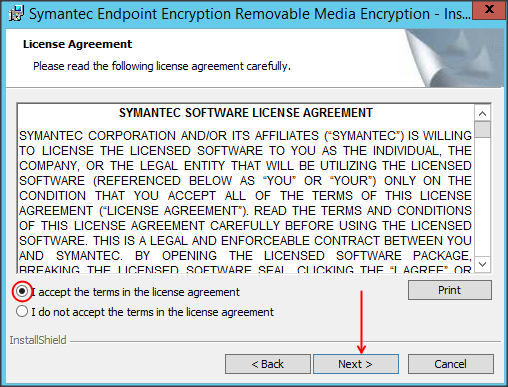
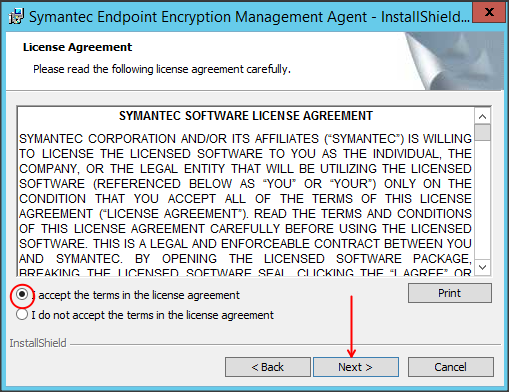
26. Read the license agreement, and if you agree to the terms, select “I accept the terms in the license agreement” and click “Next”.
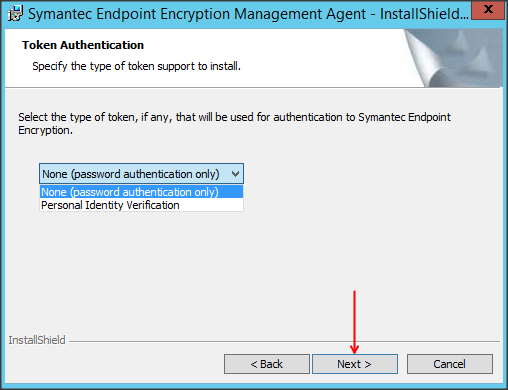
27. Select which authentication you wish your users to use, password or PIV (smart card) authentication. Click “Next”.
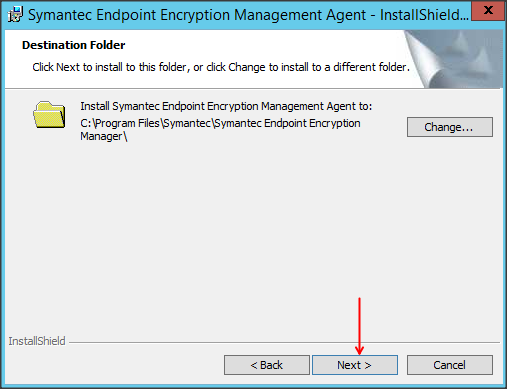
28. Select an installation directory, and click “Next”.
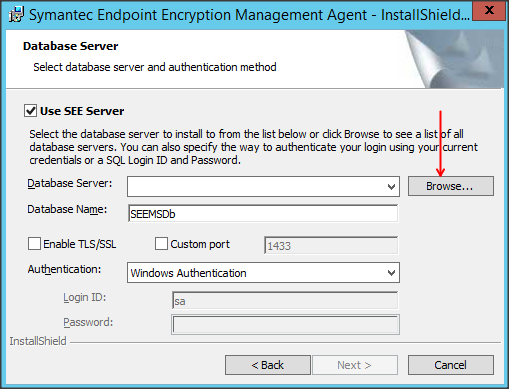
29. The next step confirms the location and communication for the SQL database that was set up in the SEE Management Server. Click “Browse”, select the appropriate database server, then click “OK”.

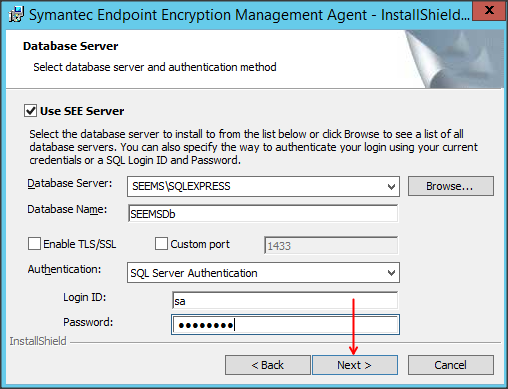
30. During the installation process, some changes will be made to the SQL database. These changes require a valid login for the database server, which can either be the currently logged in user credentials, or a SQL account, such as the “sa” account. Since I set up no permissions for my current AD account, I chose to use the “sa” account, and entered the login ID and password. After selecting the login method, click “Next”.
31. Enter the current Management Password set up in step 12. Click “Next”.

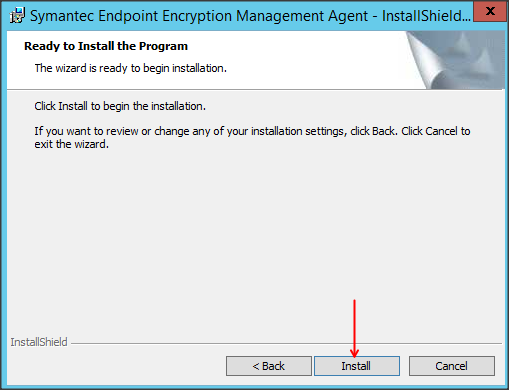
32. Click “Install” to begin installation, or “Back” to make changes.
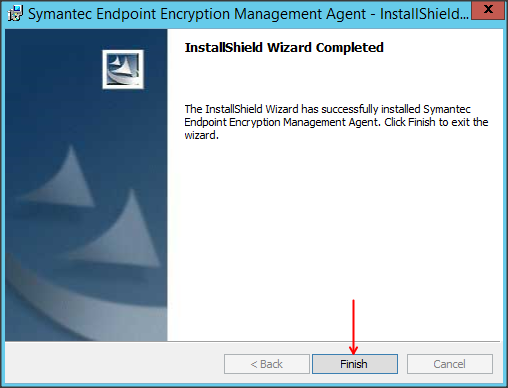
33. When installation completes, click “Finish”.
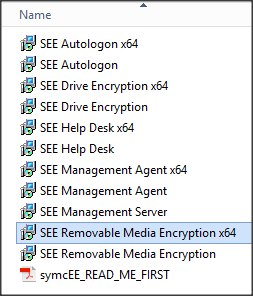
34. Install the remaining components that you desire. I have included screenshots for the Drive Encryption and Removable Media installs, and you can see that the remaining components are fairly straightforward, and require little input.