CA Clarity Tuesday Tip: Editing Clarity PPM email notifications
Every release of Clarity brings new features, but some of those features are not well publicized. One of the lesser-known capabilities allows the Clarity administrator to modify existing email notification templates without any programming.
Figure 1 shows the “Project - Added participants” email. This email is sent when a resource is allocated to a project from the project team tab of Clarity.
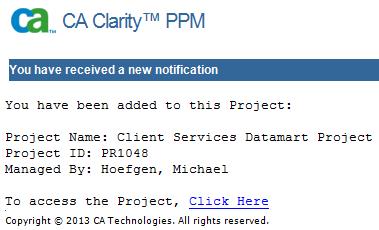
Figure 1
As the Clarity Administrator you can change any email notification template by navigating to the Administration menu then selecting Data Administration > Notifications, as shown in Figure 2.
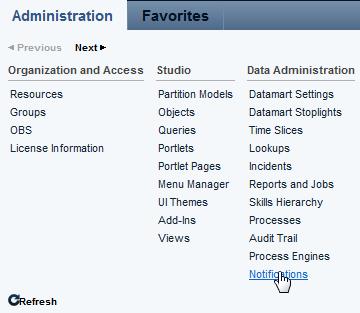
Figure 2
Since there are over 90 email templates it’s very helpful to have a filtering mechanism. Figure 3 shows the use of the functional area filter to quickly find email template for the email in Figure 1.
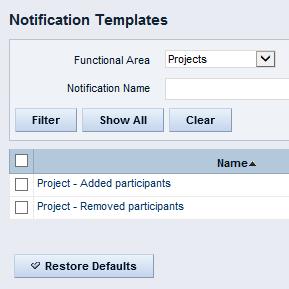
Figure 3
Clicking on the template name brings up the detailed email template that you can modify. Figure 4 shows the notification body but you can also edit the email subject as well. In this example, we want the people who receive these emails to know when the project is scheduled to start, so we add the phrase “The project start date is:” now we need the start date attribute from the project. As you can see from Figure 4, attributes are prefaced by a dollar sign followed by the attribute ID enclosed in square brackets. You can insert any project attribute (including custom attributes) into the email template by clicking on the browse (binoculars) icon below the Notification Body text box.
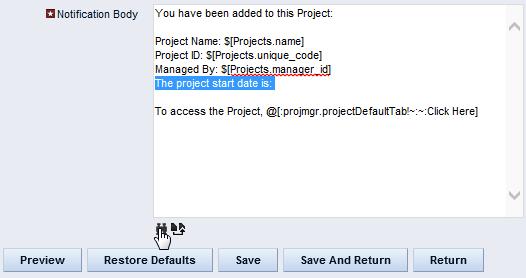
Figure 4
After clicking the browse icon you are presented with an alphabetic list of project attributes. Figure 5 shows the scheduled start date has been selected. Clarity automatically inserts the selected attribute(s) into the notification body when you click the Add button.
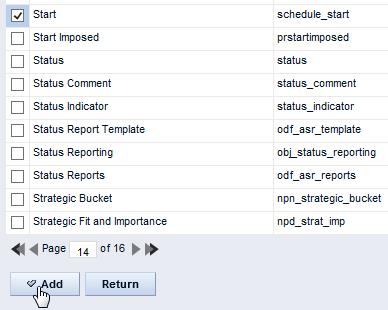
Figure 5
The text, $[Project.schedule_start] has been inserted into the notification body and you can move this text in your email template. To save your changes click the Save button; you can also preview what the email will look like by clicking the Preview button. All future uses of this template will include the project start date as shown in Figure 6.
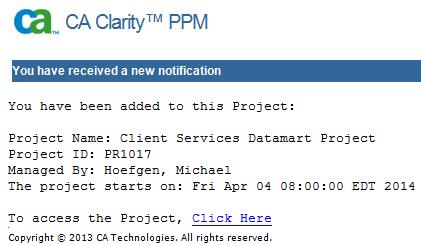
Figure 6
You can see the text we entered into the template “The project starts on:“ followed by the project start date attribute. Using this little-known feature you can edit any of the 90+ out-of-the-box email templates that come with CA Clarity PPM version 13.3 to better fit your particular requirements.
Message was edited by: Mike Hoefgen fixing the screenshots after the "new" community was implemented.