Team,
Occasionally, customers and I will run into a challenge where the customer's desktop/workstation team has locked down their workstations to prevent installation of any software or tools.
While this is fine for most users of a company. It is a challenge for any user that will be a QA resource or project resource.
- If the company has a software media location or software catalog solution, it may be possible to install vetted tools.
- Alternatively, it is also possible to request temporary Administrative Access to install these support tools.
If these options above do not exist, and the desktop/workstation is locked down, I usually fall back to one of two (2) options:
1) Install tools / software on project resource servers, where the customer will have access to install support tools.
2) Avoid "installation" and leverage "extraction" processes for customers' workstation/desktop to avoid challenge.
An example: Installation of an LDAP GUI client tool
An LDAP GUI is valuable for both QA and project efforts.
Popular examples are: Jxplorer, SoftTerra LDAPBrowser/LDAPAdmin, Apache Directory Studio.
Since Jxplorer and SoftTerra tools require installation rights on a workstation, we will skip these for now.
How to install an LDAP GUI client tool in two (2) steps:
Step 1: JDK Version Check / Extraction (not install)
- If the JDK/JRE version currently installed is the current bit level and version level, then this step may be skipped.
a) Download the latest 32bit version of Oracle Java JDK. [Do not down load the x64 bit version even if your OS is x64 bit]
Note: 32bit version of JDK will have i586 as part of the file name.

b) Use 7zip or OS (embedded unzip); extract the embedded tool.zip file from the JDK executable.
- Note: If you do NOT see tools.zip, then you may have accidentally download the x64 bit version of the JDK.

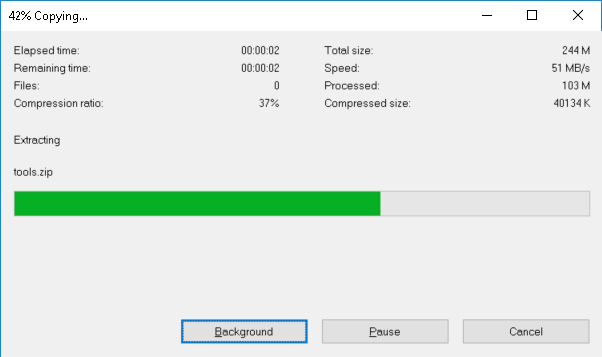
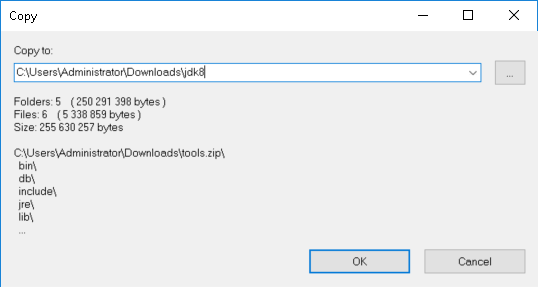
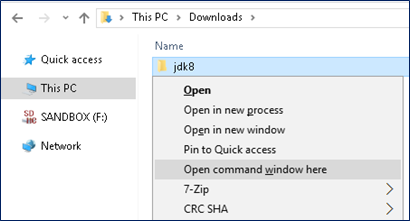
c) Using 7zip (or OS unzip) extract tools.zip to a new folder (suggest rename from "tools" to "jdk8")

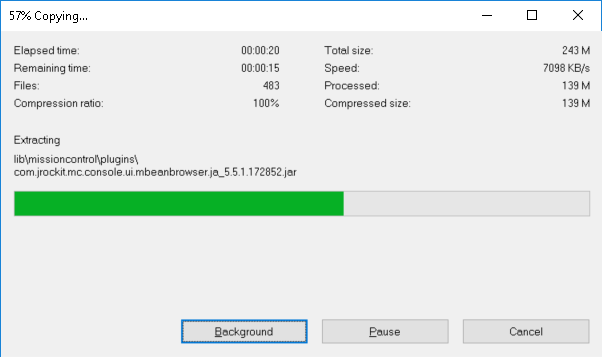
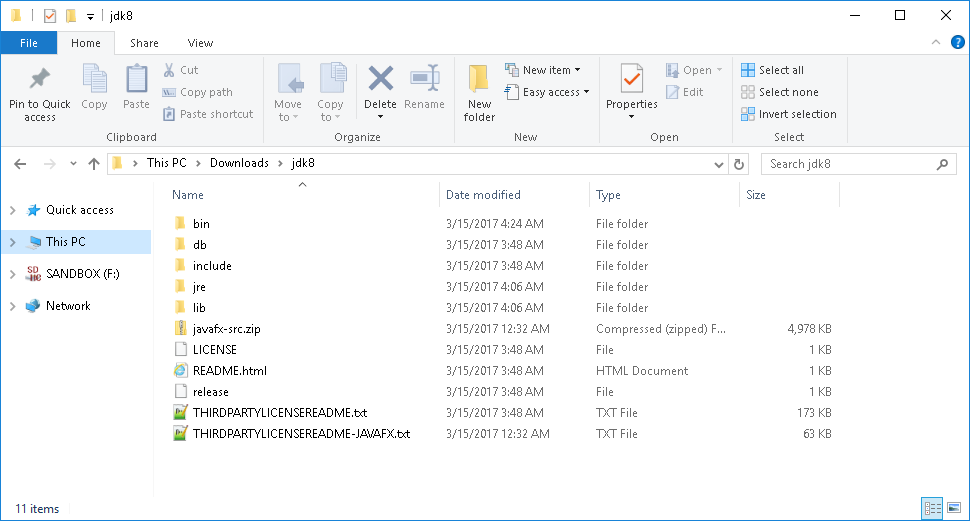
After the JDK is extracted (not installed); we will now need to use the JDK binary to "unpack" the JDK's jar files.
d) Open a command line window (cmd) to the new JDK folder (or use the MS Window SHIFT+RightClick to select command line window option)
e) Execute this command: for /r %x in (*.pack) do .\bin\unpack200 -r "%x" "%~dx%~px%~nx.jar"

f) Check java is installed. Change directory to the bin folder, then execute: java -version
g) DONE with JDK extraction (not install) method. Note: With this method you can have as many JDKs extracted on your workstation as you wish for testing.
Step 2: Extraction of Apache Directory Studio (not install)
a) Download from: Welcome to Apache Directory Studio — Apache Directory
- Select 32bit ZIP file for extraction. Note: Bit level MUST MATCH JDK bit level.

Choose any MIRROR site to download the 32bit (x86) version

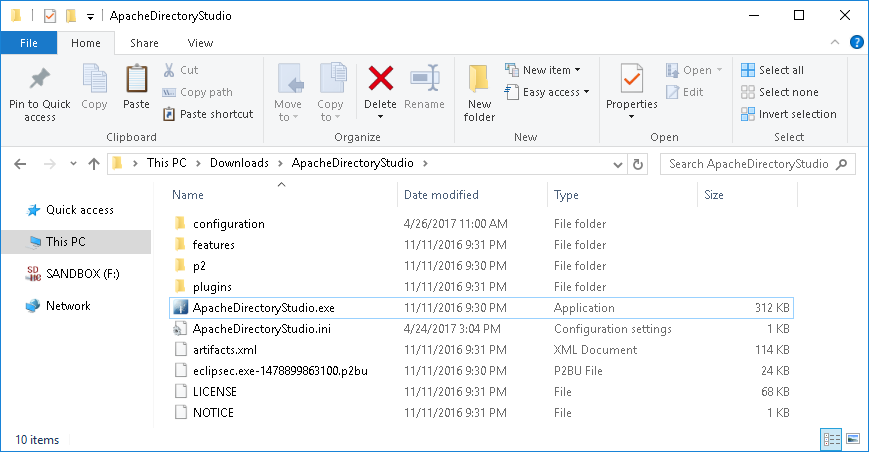
b) Extract Apache Directory Studio with 7zip or OS unzip

c) Create a dos/win batch script (*.bat or *.cmd extension), that will declare & temporarily override the JAVA_HOME and PATH variables of the Workstation/Desktop, to allow Apache Directory Studio to run.
- This is ONLY needed if the current Java/JDK version will NOT allow Apache Directory Studio to run with no error messages.
@echo on
set JAVA_HOME=C:\Users\Administrator\Downloads\jdk-8u131-windows-i586\jdk\
set PATH=%JAVA_HOME%\bin;%PATH%
java -version
echo JAVA_HOME = %JAVA_HOME%
echo PATH = %PATH%
ApacheDirectoryStudio.exe
pause

d) Execute the batch file. A command line window will open. The echo statements will help debug if needed.
- Ensure the new JAVA_HOME path is first in the PATH statement.
e) Apache Directory Studio GUI will now load

Step 3: (Optional) - Now setup a LDAP endpoint to view or change.
- May be any LDAPv3, Mainframe (via CA LDAP for z/OS or IBM LDAP for z/OS), Active Directory (389/636), MS ADAM/LDS, etc.
a) In the lower left panel, create a new LDAP connection

b) Locate the proper DN format for the service ID that will be used to authentication. If this is for Active Directory, you may use the AD User&Computers tool, to view the distinguishedName attribute. Copy this value.


c) Enter this Bind DN value, into Apache Directory Studio authentication screen & the service ID password.

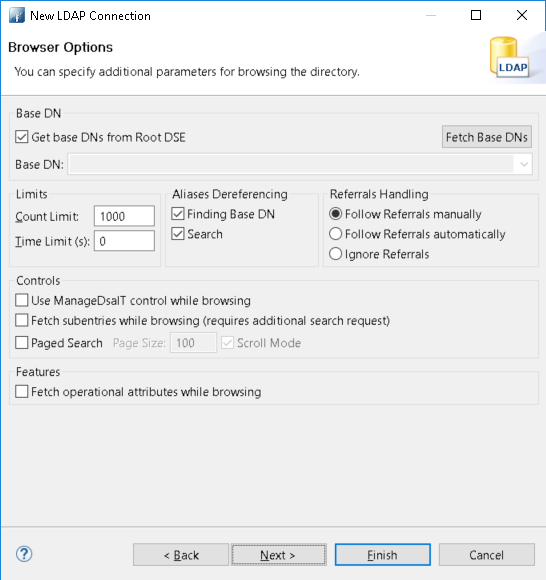
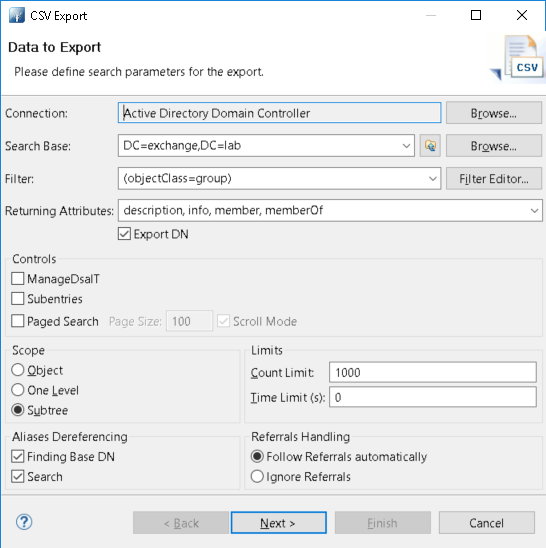
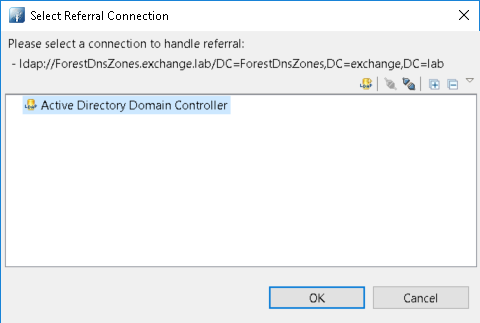
d) Select NEXT and accept the default values for this new configuration. AD has a default limit of returning 1000 entries, so "paging" features may be needed, if you experience any issues.
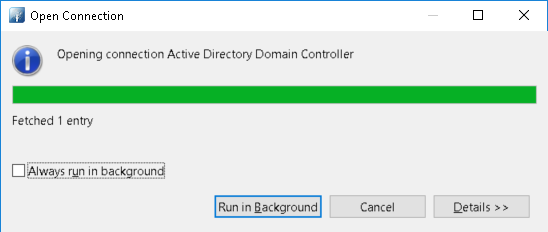
e) Click Finish; and allow the connection to occur to AD.
f) Depending on the level of the Base DN selected, different items will be available to view.

g) Select the common ROOT base DN, to view users and group objects.
- Active Directory is enabled for read access to all non-sensitive attributes. This is how the Global Address List (gal) is able to display the Address Book for MS Exchange or other portal views.

h) Select a user object to view it non-privacy details. Note: Any attribute that has higher level of sensitivity enabled, will not be shown to the service ID.

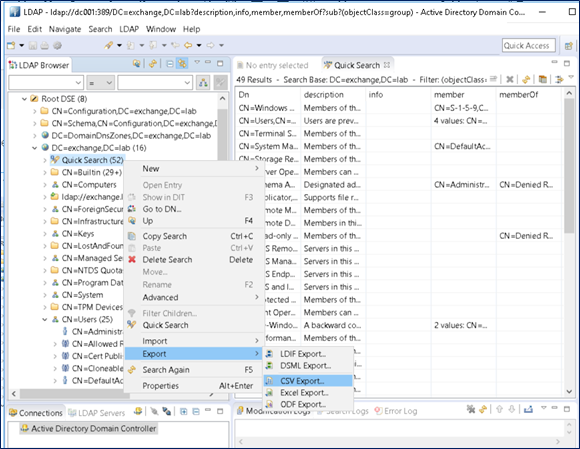
Step 4: (Optional) Role mining exercise with AD group and export to CSV file.
a) Select the correct Base OU, that you wish to start a search from. If unknown, select the root.
- Right click and select Quick Search

b) Update the Filter to use (objectClass=group), to avoid showing all NON group objects.
- Update the attributes, to select only the "high-value" attributes & values for Role Mining exercise.

c) Validate data was return for the fields you wish to view.

d) If this search was successful, and you wish to build a report or export the data to MS Excel.
- Right click on the "Quick Search" and select Export, then select CSV. CSV option will always work.
MS Excel option may be selected as well, but occasionally has a formatting challenge.

e) Load the export CSV file into MS Excel to view and build reports as needed.

Let me know if you have found this of value.
Cheers,
A.