Summary:
In this guide we will discuss about the steps required to integrate CA Single Sign-On with CA Advanced Authentication (CA Arcot WebFort Strong authentication & CA Arcot RiskFort ).
We use CA Arcot Adapter™ (Adapter) to integrate CA Single Sign-On with an on–premise implementation of the CA Arcot WebFort strong authentication solution and the CA Arcot RiskFort adaptive authentication solution.
The following diagram illustrates how the Adapter and its components, CA Arcot RiskFort, and CA Arcot WebFort integrate in a CA Single Sign-On environment.

Environment:
- Policy Server : R12.52 SP1, R12.52SP2
- OS : Windows
- CA Advanced Authentication : 8.2.1
- User Store : CA Directory (LDAP)
Pre-requisites:
- CA Strong Authentication and CA Risk Authentication servers are installed and configured.
- CA Arcot Adapter and all related components (AFM, State Manager etc. ) are all installed and configured.
- CA SSO Policy server and Web Agents are installed and configured.
- All CA Single Sign-On users to which the integration applies must be made available to the CA Strong Authentication database
Configuration Steps - (summary)
Here are the high level overview of the steps required to configure this integration :
CA Adapter
- Create a CA Adapter profile of integration type - SiteMinder.
CA Single Sign-on Web Agent
- Configure virtual directory and deploy FCC pages
CA Single Sign-on Policy Server
- Deploy Authentication Shim Libraries
- Copy Adapter configuration file (adaptershim.ini) from CA Adapter host
- Create Arcot Authentication scheme utilising Authentication Shim Libraries
- Ensure the ACO used by web agent has the required parameter set
Configuration Steps - (detail)
CA Adapter
Create a CA Adapter profile of integration type - SiteMinder.
Open CA Adapter configuration wizard ( http://<hostname>:<port>/ArcotAFMWizard/afm_profile_wizard.jsp )
Click Create New Profile
Specify following :
Profile Name = casso (this field is case sensitive),
Integration Type = SiteMinder (mandatory)
Primary Integration Type = LDAP
Strong Authentcation Organization Name = Pre-configured Organization which is mapped to an enterprise LDAP directory.
Note: This must be the same LDAP directory as configured in CA SSO Policy server.
Click Next.
Select option to invoke Second Factor Authentication "Without Risk" and leave the remaining configuration as default and click Next
Select Security Questions options for Second Factor Authentication and leave everything as default and Click Update
This will redirect to the home screen as below :
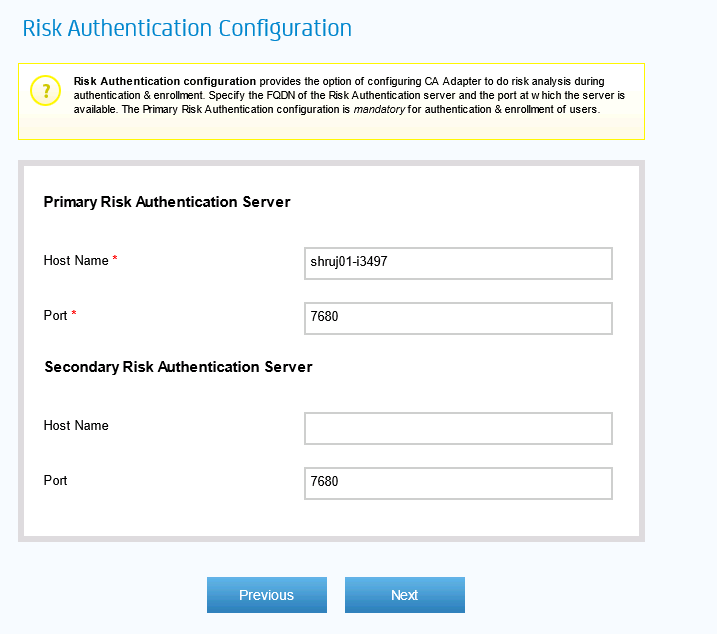
Now, Click Next to configure the Strong Authentication server details and also to save the new Adapter profile.
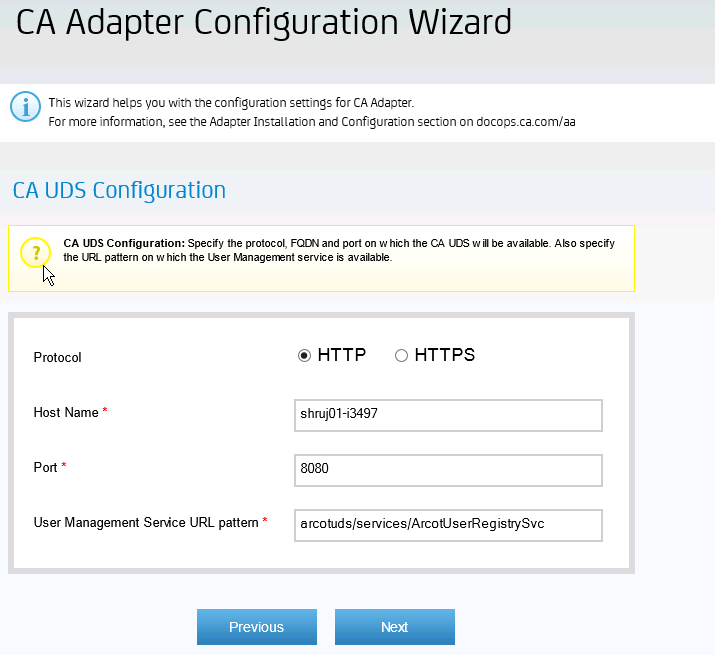
Click Next and update the CA UDS Configuration
Click Next and update the CA State Manager configuration
Click Next and update the SiteMinder Web Agent & CA Adapter Applicaiton server details
Note :
Please make a note of the FCC Virtual Directory name configured here, as this needs to match the name of the virtual directory which will be configured in the Web Agent later in the subsequent step.
Click Next and leave the default setting for SAML Request Verification
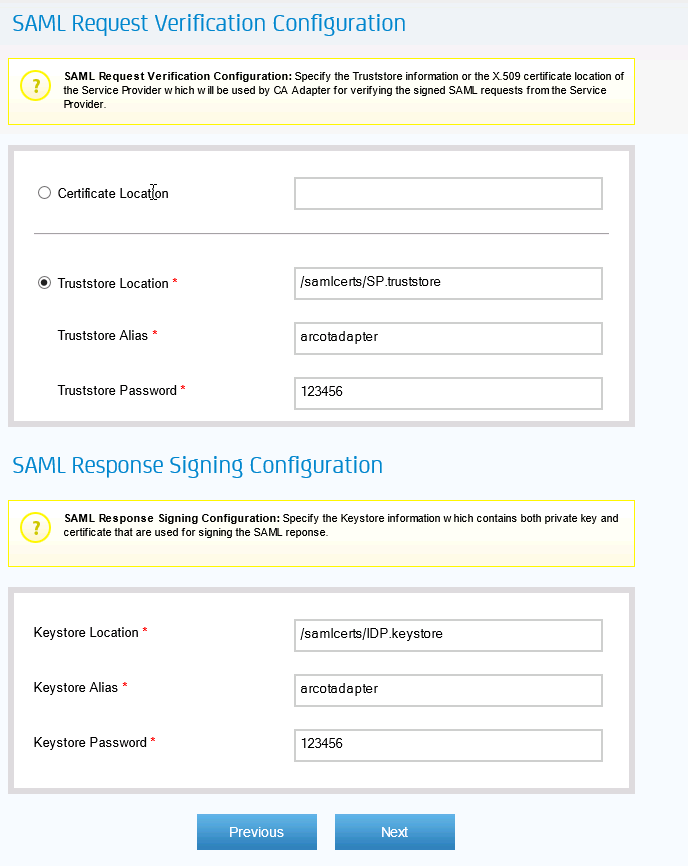
Click Next
Verify the configuration and finally click Save to save the configuration.
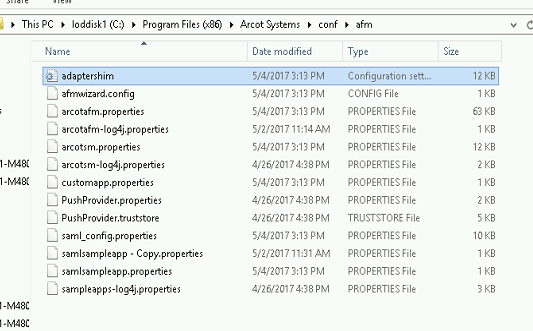
The configurations is saved into a file adaptershim.ini located at <AFM_HOME>/conf/afm folder.
CA Single Sign-on Web Agent
Copy the complete FCC folder available at <ARCOT_HOME>/adapterSiteminder/fcc to the Web Agent host.
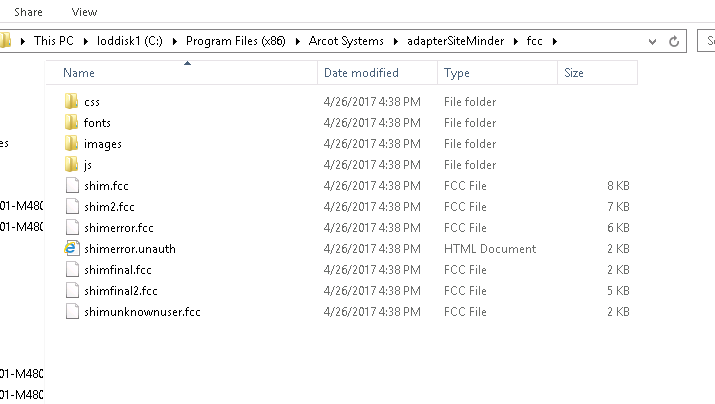
Create a virtual directory in the Web Server that points to the FCC directory that you copied.
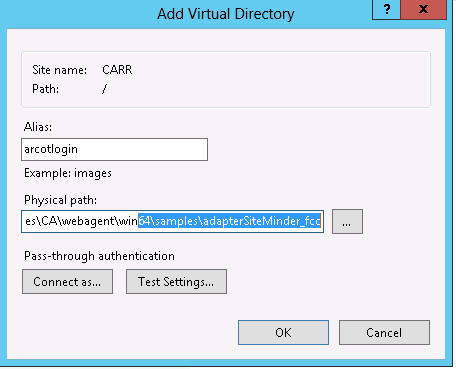
Note : The virtual directory alias need to match the virtual directory name configured during Adapter configruation wizard.
CA Single Sign-on Policy Server
- Deploy Authentication Shim Libraries
The files to deploy for Authentication Shim are available at the following location:
<CA Strong Authentication Install Image>/GEN02175329E/CA-Adapter/CA-Adapter-8.2.1-Windows/32bit-adapterSiteMinder
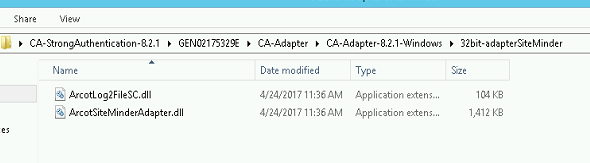
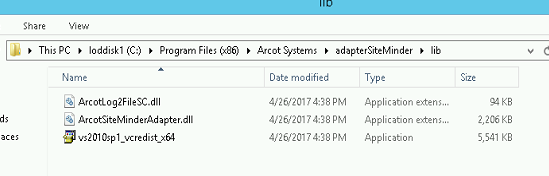
Copy the ArcotSiteMinderAdapter.dll and ArcotLog2FileSC.dll files to <Policy Server Install>/bin folder
Note:
File with the same names are also deployed under following location :
<auth_shim_installation_dir>/adapterSiteMinder/lib/
However, these are 64 bit version of libraries , so are NOT compatible with the 32 bit Policy server for 12.52SP1 & 12.52 SP2 release. CA SSO Policy server is 64 bit process only from 12.6 onwards.
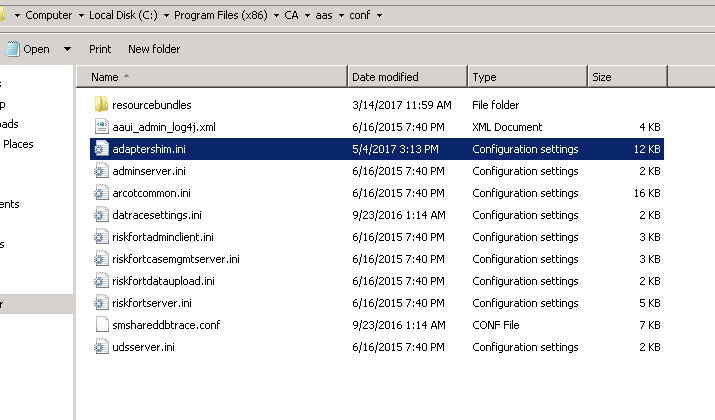
- Copy Adapter configuration file (adaptershim.ini) from CA Adapter
Copy adaptershim.ini from AFM_HOME/conf/afm folder to the following location on the system where CA Single Sign-On Policy Server is hosted: <ARCOT_HOME>/conf
Note :
In CA SSO 12.52 SP1 and 12.52 SP2 , <ARCOT_HOME> environment variable points to <PS_Install>/aas folder by default.
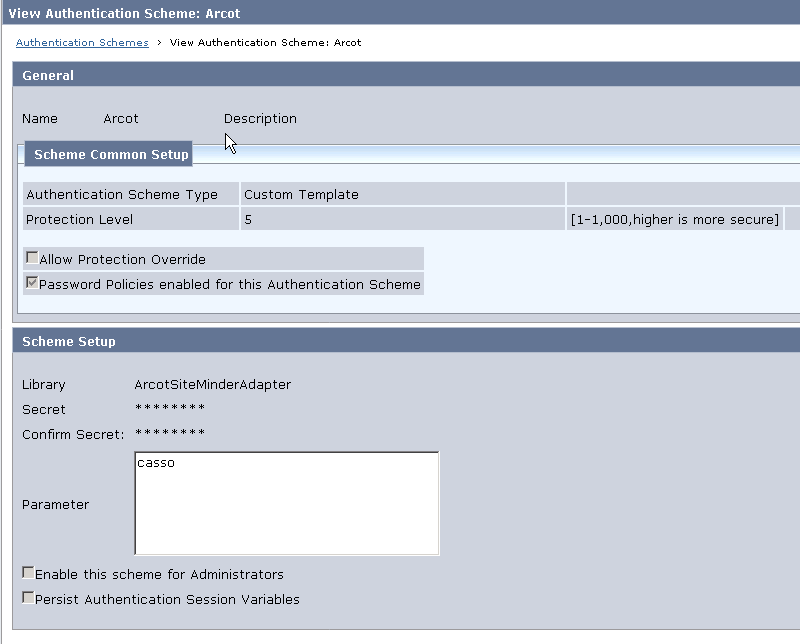
- Create Arcot Authentication scheme utilising Authentication Shim Libraries
Create a Custom Template authentication scheme and enter following details and click submit:
Library = ArcotSiteMinderAdapter
Parameter = Name of the Adapter profile you created using Adapter configuration wizard (this field is case-sensitive)
- Ensure that ACO used by the web agent has following set :
FCCCompatMode Yes
RequireCookies Yes
CssChecking Yes
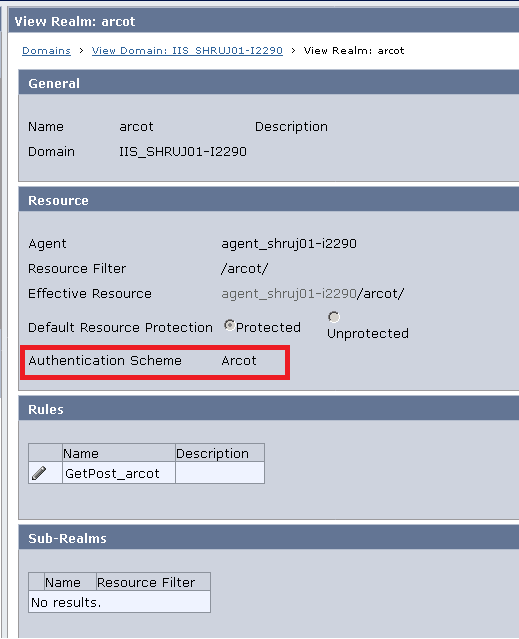
- Configure Realm to be protected with the Arcot Authentication scheme created above
- Restart Policy server (This is needed for the policy server to load the new Authentication shim libraries)
Testing
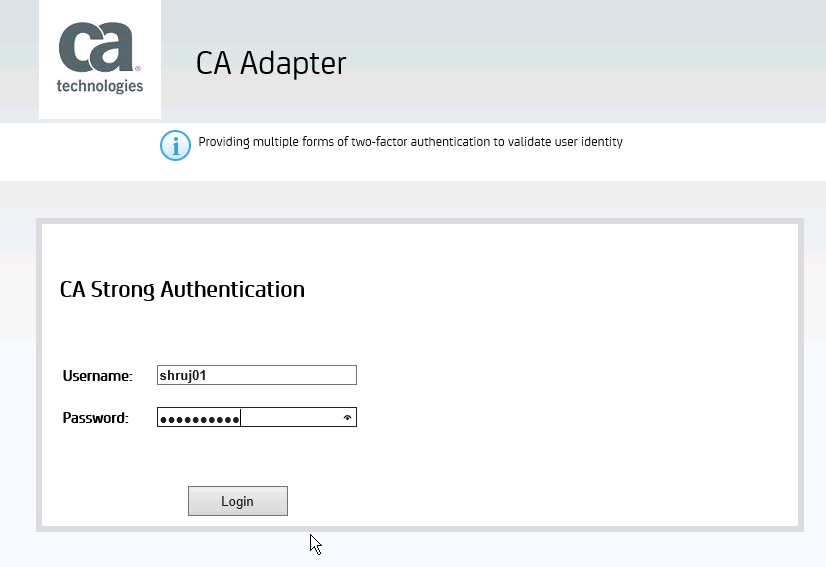
- Access the resource protected by Arcot authentication scheme.
- The user shall be prompted for authentication by CA Strong Authentication
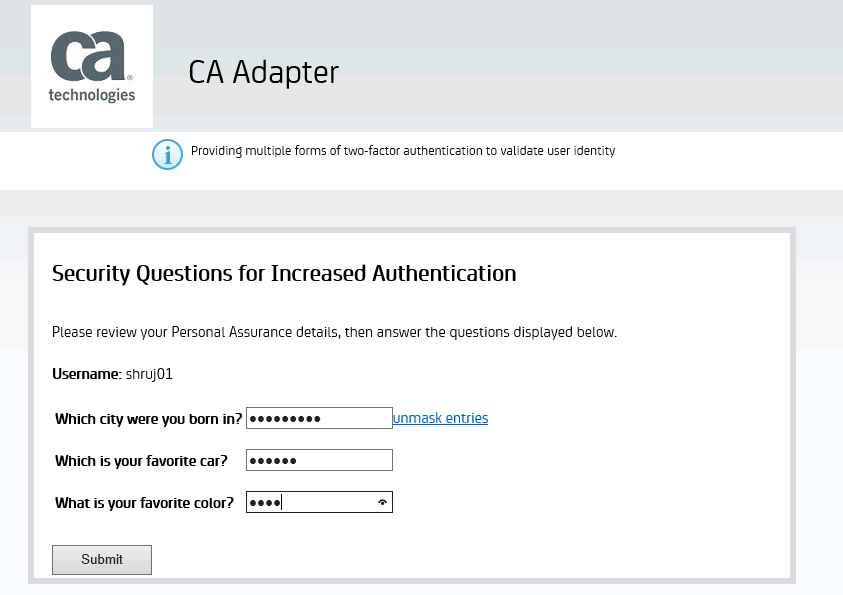
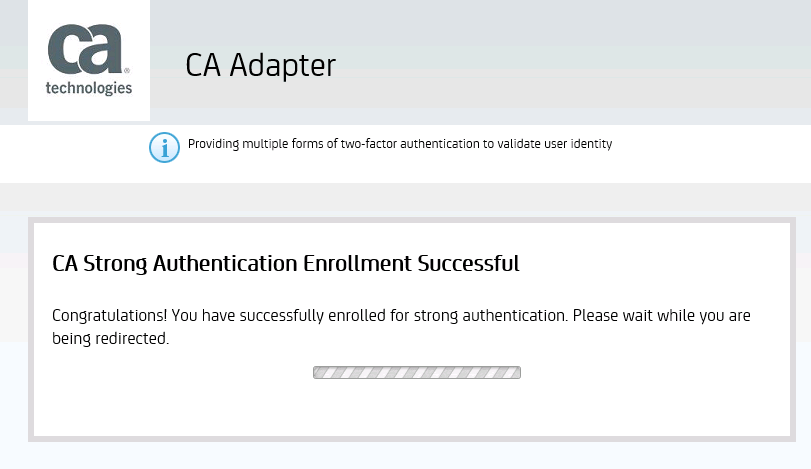
- For the first time , if the user is not already enrolled with CA Strong Authentication it will be prompted for enrolment and register the Question and Answers
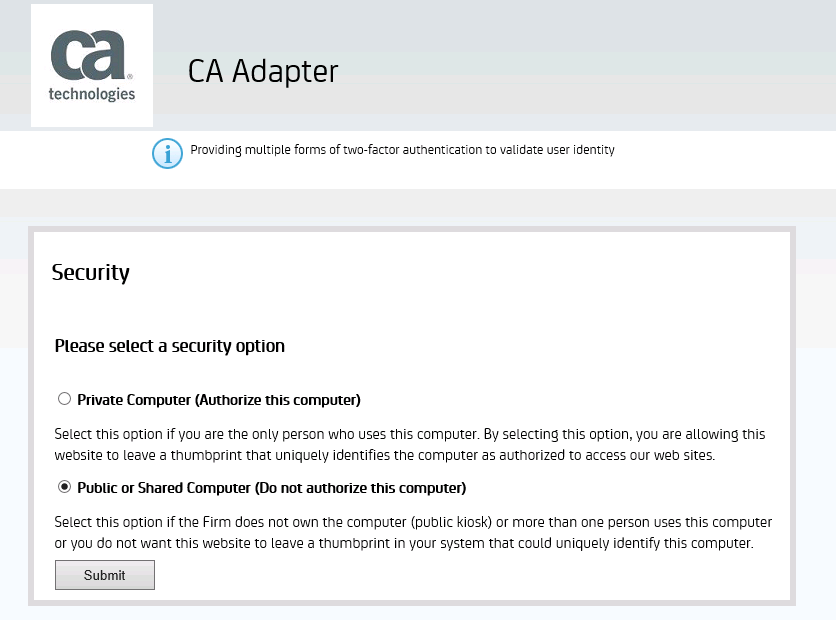
- User is then prompted to select the security option as below.
- Finally the user is granted the access to the protected resource.
Now, if the same user tries to authenticate the second time here is the sample flow :
- Access the resource protected by Arcot authentication scheme.
Attachment:
- Sample adapthershim.ini file
- Sample fiddler trace (for second use case)
References: