Ghost Solution Suite 3.x can be used to create a boot device with an image to be restored contained on it. To do this, the Ghost Standard Tools (a separate installation than the one that contains the Ghost Console) must be installed. There is also a third-party utility that must be used, as well. Links to a freeware program called ISO to USB are included, but any software capable of burning an ISO image to a USB flash drive will work. A third-party utility is necessary for this, as by default the Boot Disk Creator only formats USB disks as FAT32, which limits usable space on the disk to 2GB. Creating an ISO boot image and burning that boot image will allow you to choose NTFS as the file system for the boot media.
Part 1: Creating the Boot Configuration
This part tells how to create a boot configuration for your boot disk. If you have already created on, you may use your existing boot configuration and go to Part 2.
1. Browse to \Program Files (x86)\Symantec\Ghost\Bootwiz and double-click BootWiz.exe.

2. Once it launches, click the radio button for "Go to the Boot Disk Creator interface" and then click OK.

3. Choose File > New Configuration.

4. On the screen "Step 1 of 8: Configuration Name", provide a name (and description, if you wish) and select "Windows PE 5.1" from the drop-down for "Pre-boot Operating System for this Configuration" menu. For OEM Extensions, select "<all>". Then click Next.

5.On the screen "Step 2 of 8: Windows PE Hardware Device Drivers", click Next.

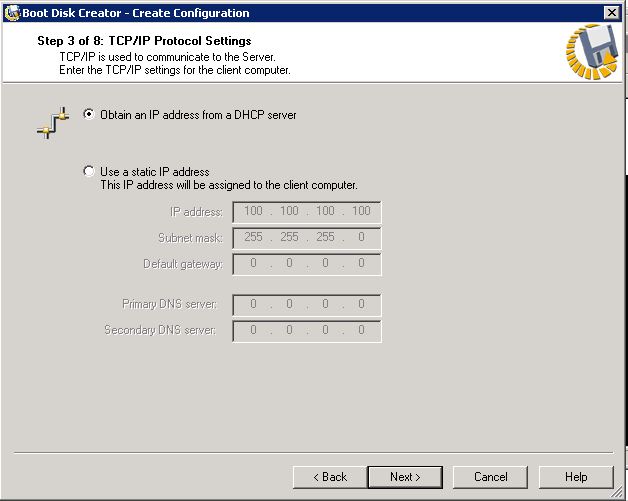
6. On the screen "Step 3 of 8: TCP/IP Protocol Settings", click Next.
7. On the screen "Step 4 of 8: Ghost Solution Suite Server Communication", select the radio buttons for "Use TCP\IP to connect to Ghost Solution Suite Server" and "Local: Run existing WinPE 4.0 automation agent contained in the local pre-boot environment" and then click Next.

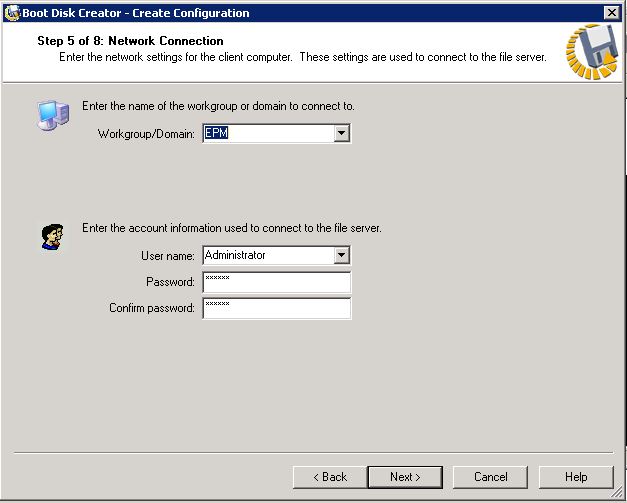
8. On the screen "Step 5 of 8: Network Connection", make sure the domain is selected and the credentials are correct. Then click Next.
9. On the screen "Step 6 of 8: Network Drive Mappings", click Next.

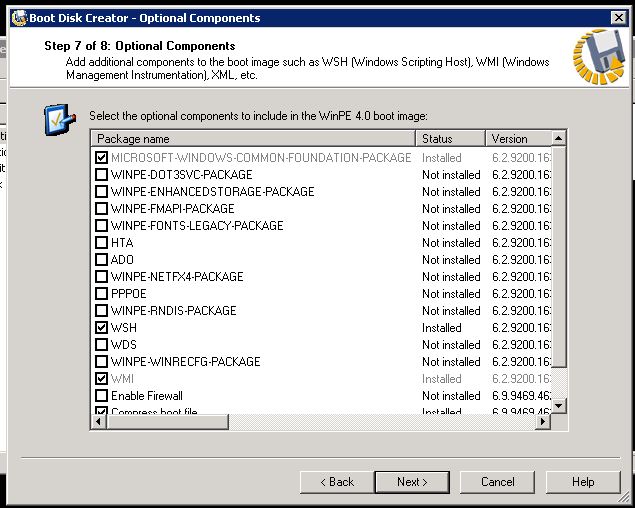
10. On the screen "Step 7 of 8: Optional Components", click Next.
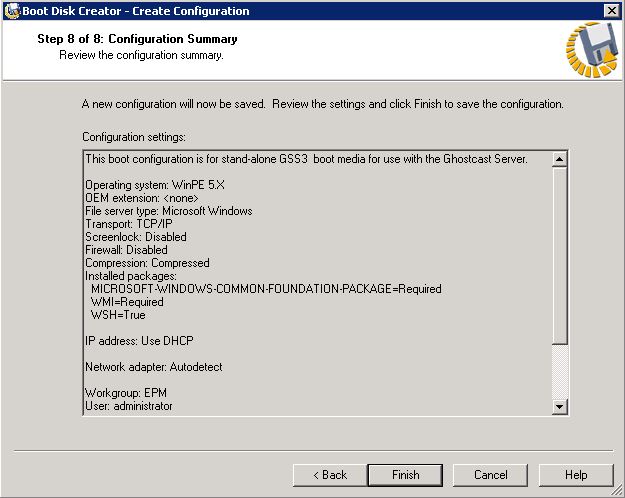
11. On the screen "Step 8 of 8: Configuration Summary", click Finish.
12. A wizard will launch. Click Cancel to close it.
Part 2: Creating the Boot Media
This part tells you how to create the necessary boot media.
1. In the Boot Disk Creator (BDC), right-click on your boot configuration and choose Create Boot Disk.

2. On the following page, select "ISO (CD/DVD image)" for "Boot Media Type". Choose "Stand-alone boot" as the "Boot Task Type". Then select the architecture at the bottom (x86/x64). After that, designate the path for the ISO file, then click Next.

3. After the BDC finishes (expect several minutes), you will have a *.ISO file.
4. Download the freeware utility ISO to USB from http://www.isotousb.com/ and install it. Alternately, if you have another utility capable of burning ISO files to USB, you may use that. Make sure to select NTFS as the file system.
Please note: USB to ISO is a third-party utility. It is not affiliated with Symantec. Symantec cannot troubleshoot this tool.
5. Open that utility. Browse to the ISO file. Choose your USB flash drive in the "Drive" dropdown. Select "NTFS" for File System, then choose Burn.

6. After that USB has been burned with the ISO, the remaining space is then available for Ghost images. Copy your Ghost image (noting that Ghost images may consist of several files), and then the disk is ready to perform image deployment directly from the USB disk.
Part 3: Restoring the Image
This part tells you how to restore an image from a USB boot disk with an image.
1. Boot the machine you wish to restore the image to with the boot disk. Ghost will launch. Click OK.

2. From the menu, choose Local > Disk > From Image.

3. It will ask for the source image. The source image will be the USB drive; WinPE will assign it a drive letter. Select the appropriate *.GHO file from that location.

4. Select the destination drive to which you wish to deploy. Note that the drive that is the source for the image is in red text and cannot be selected.

5. Proceed with image restore.