The Ghost Solution Suite Console allows a user to remotely initiate imaging tasks to client machines, by default using PXE to boot them into a preboot environment (our default preboot operating system for automation is WinPE 5.1) and run a client. We refer to this client state as being in "automation". In some cases, it might not be possible to install a client on a machine, or to use PXE. In the case where you want to run a console job to a machine that you are for some reason able to PXE boot or install a client, these instructions will allow you to do that.
Please note: These instructions are not necessary to run jobs in automation from the console; this is an alternative method to boot a client into automation.
1. Launch the Ghost Console. In the console, click on Tools > Boot Disk Creator.

2. Once it launches, click the radio button for "Go to the Boot Disk Creator interface" and then click OK.

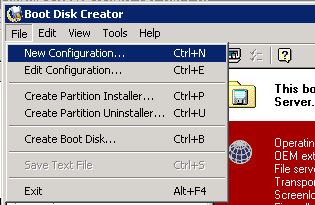
3. Choose File > New Configuration.
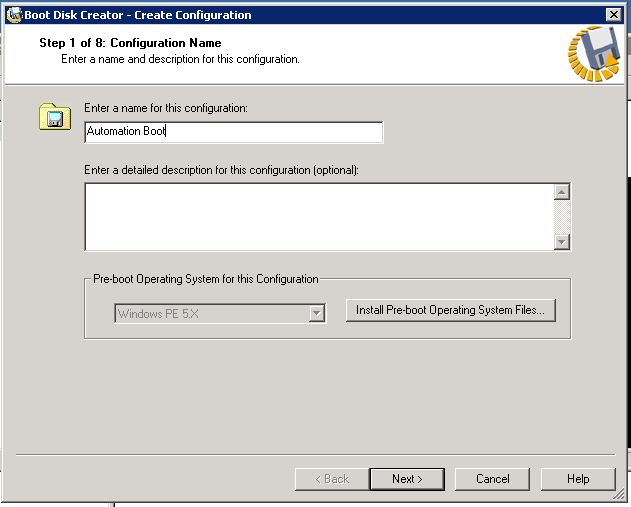
4. On the screen "Step 1 of 8: Configuration Name", provide a name (and description, if you wish) and select "Windows PE" from the drop-down for "Pre-boot Operating System for this Configuration" menu. Then click Next.
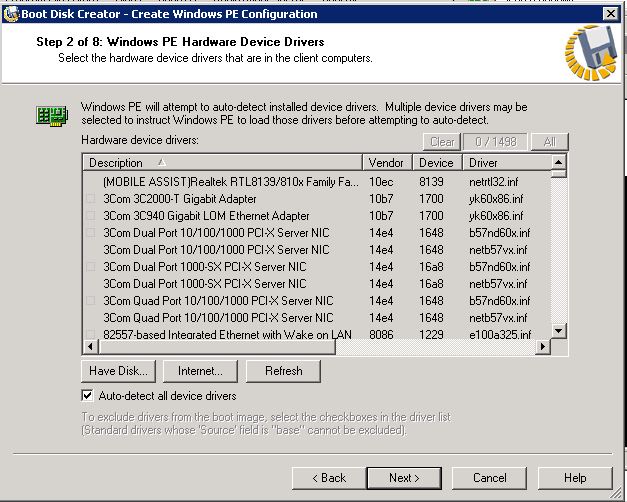
5.On the screen "Step 2 of 8: Windows PE Hardware Device Drivers", click Next.
6. On the screen "Step 3 of 8: TCP/IP Protocol Settings", click Next.

7. On the screen "Step 4 of 8: Ghost Solution Suite Server Communication", select the radio buttons for "Use TCP\IP to connect to Ghost Solution Suite Server" and "Local: Run existing WinPE 4.0 automation agent contained in the local pre-boot environment" and then click Next.

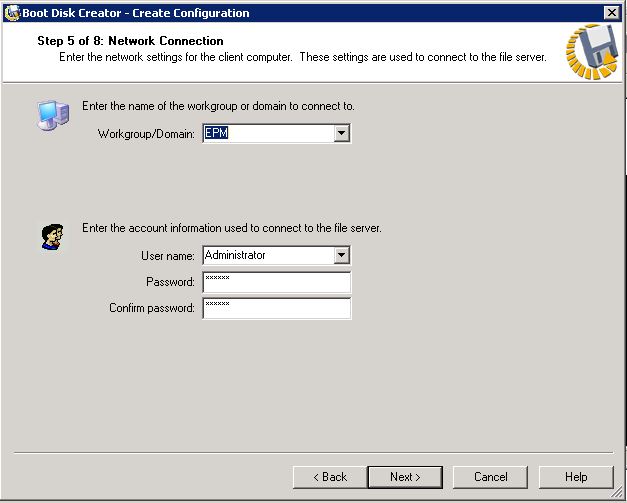
8. On the screen "Step 5 of 8: Network Connection", make sure the domain is selected and the credentials are correct. Then click Next.
9. On the screen "Step 6 of 8: Network Drive Mappings", click Next.

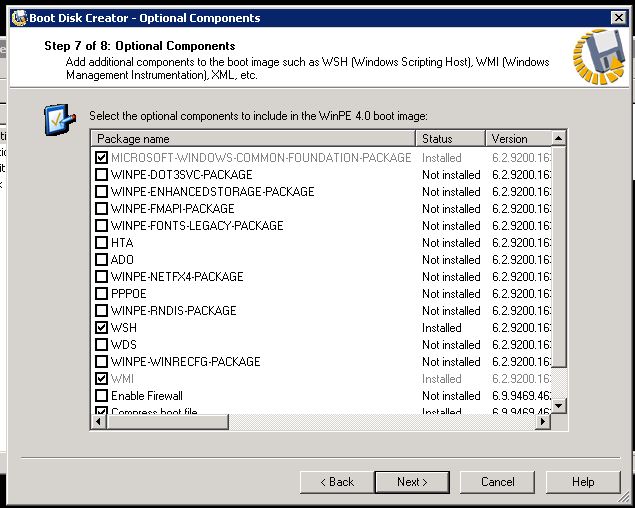
10. On the screen "Step 7 of 8: Optional Components", click Next.
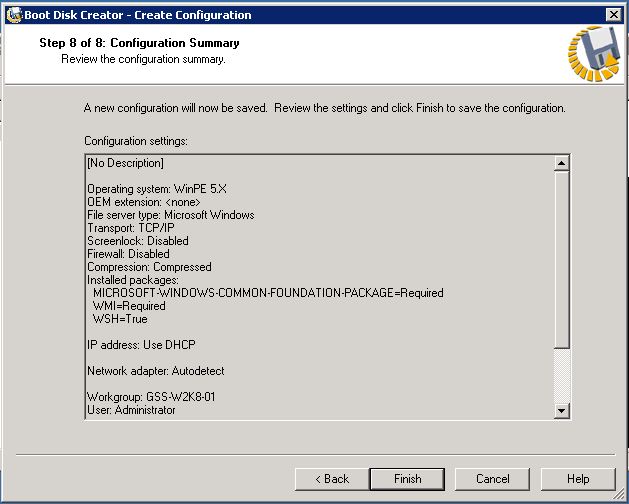
11. On the screen "Step 8 of 8: Configuration Summary", click Finish.
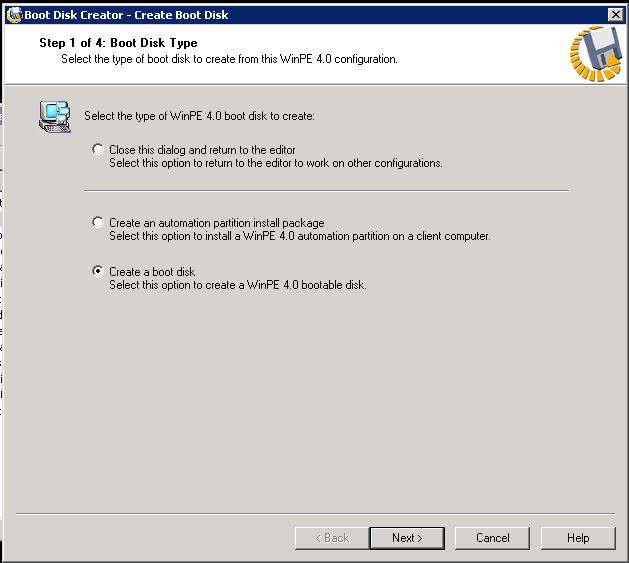
12. This will launch the "Create Boot Disk" window. Select the radio button "Create a boot disk". Then click Next.
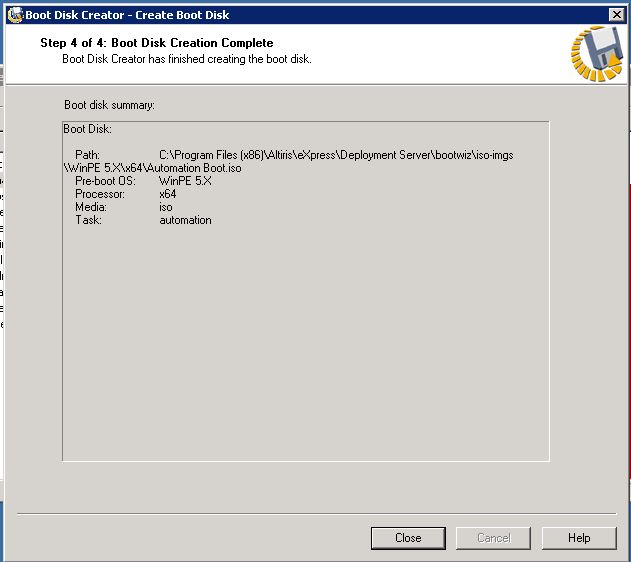
13. Select boot media type (you can create an ISO, or write directly to a USB flash disk). Choose Automation Boot. Then set "Boot media processor type" to either x86 or x64 and click Next.

14. Click Close on page "Step 3 of 3".
15. You will now either have an ISO file to burn to a CD/DVD/USB, or a bootable USB drive. Boot the client machine with this disk. After loading, a client entry will appear in the Ghost Console under New Computers, and therefore be eligible to have console jobs ran upon it.