The SOI APM Connector typically does not support upgrading. There is however a way to actually perform an upgrade without having to jump through too many hoops.
Just like several other SOI connectors does the APM Connector support the feature of multiple instances. This is the particular feature that can be used to perform an upgrade.
How does this work? We will be installing a dummy instance. After the installation has finished we will remove any reference to this dummy instance, but while installing the dummy instance the connector files will be replaced with the files from the new version!
Follow through these next steps
- Start by stopping the connector and making a backup copy of the current installation directory. Log files can be substantial, so you may want to exclude those from the backup
- Execute the Connector_APM.exe for the new version of the connector as Administrator
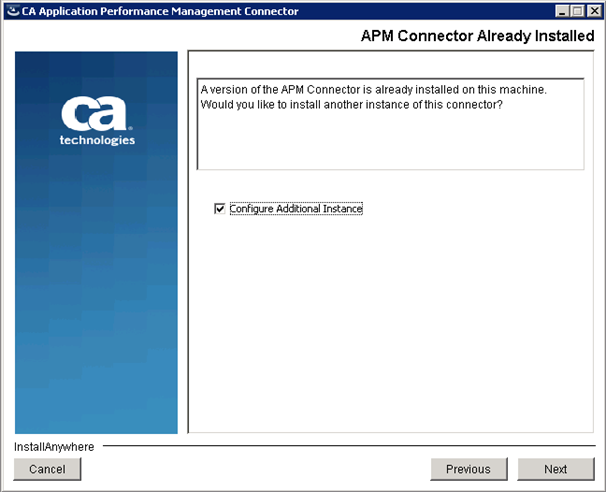
- Click through the first couple of screens until you see the screen where it says APM Connector already Installed
- In this screen check the box Configure Additional Instance, as follows
- The new instance that we will be installing will be a dummy instance, so provide dummy Connector Information, as follows
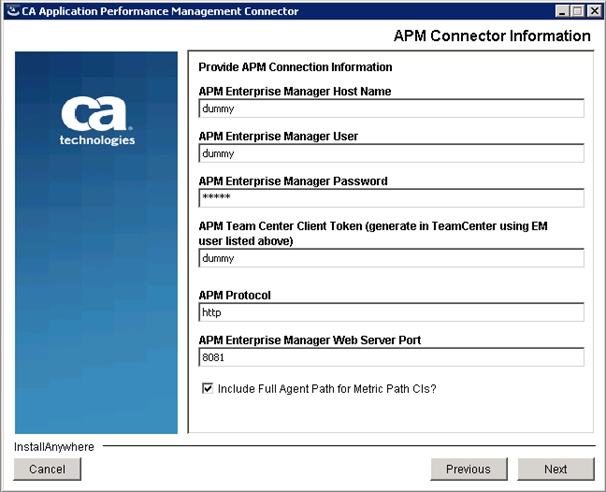
- Note that even the password can be a dummy one because it will not be used, nor tested during the installation
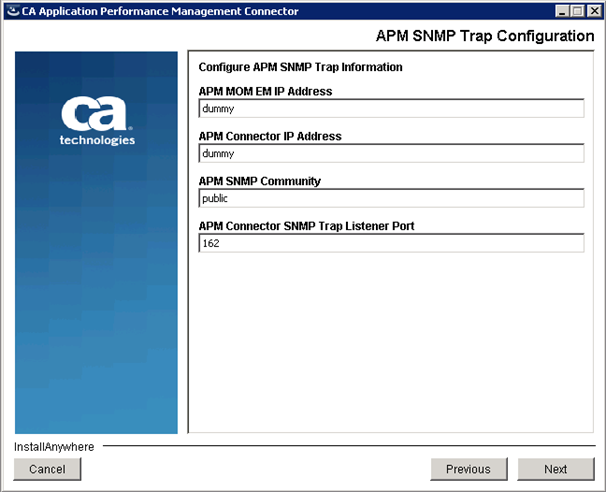
- Continue by entering dummy information for the SNMP Trap Configuration. Nothing of this information will actually be used
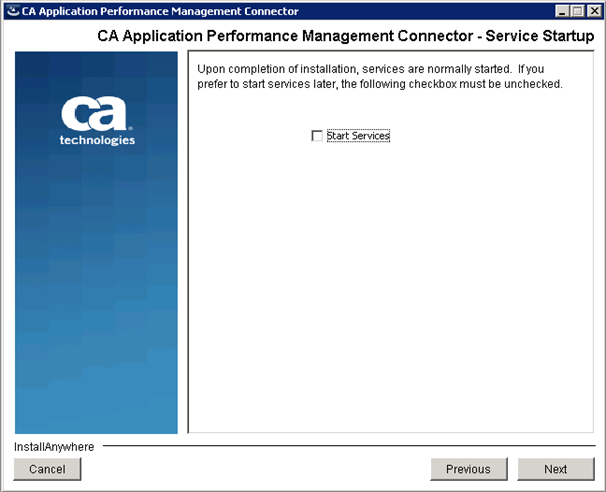
- Do not select the services to be started. This prevents the dummy instance from actually being loaded
- Follow through the remainder of the screens and be cautious when asked to overwrite existing files, like apm_policy.xml, apm_log4j.xml, or APMConnector_ScopingConfig.xml. Do make sure to compare these new files with the files in your backup copy, because new files like these may contain new features that you would need to manually apply to your existing configuration files. Update and replace such files in the upgraded installation directory.
- After the installation (or upgrade for that matter) has finished navigate to the SOI\resources\Configurations folder of the installation and find the file called APM_dummy.xml
- Compare the dummy configuration file with the existing APM Connector configuration file, called something like APM_server.domain.xml. Merge the information from the two files on the level of parameters and attributes. The dummy configuration file may list new parameter features that must be copied to your existing configuration file. For instance with version 3.3.1 the parameters BusinessTransactionTypes="APPLICATION_ENTRYPOINT" CharEncoding="UTF-8" were added to the ConnectionInfo section in the configuration file
- After making the changes in the previous step either rename the dummy file to APM_dummy.xml_BAK, or move it away from the installation folder to a backup location for later reference. Do not leave the file unchanged in the installation folder, because then the connector will try to start it on startup, and it will fail to do so, obviously
- Now start and verify the APM Connector. The upgraded connector version can be checked on the Administration Pages of the SOI Dashboard
- In case you do see the dummy connector instance listed, then stop the connector, by stopping the Integration Services, click the Remove Connector button on the Administration Page of the SOI Dashboard, wait until the dummy connector instance is removed (has disappeared from the list), and make sure the above step 12 is executed properly
Happy upgrade!
Vincent_B