This How To blog is for those who signed up for the "Bring Your Own License" (BYOL) offering on either the AWS Marketplace or Microsoft Azure and need to insert their license and start the CA Service Virtualization tool. Here are the steps to follow to insert your license and start up the SV services on your new virtual machine.
1. Find your License Email. This is typically from a "DoNotReply@ca.com" email address with the subject line including the words "License Activation". ATtached to the email will be a file called "devtestlic.xml". This is the file you need to add to your virtual machine.
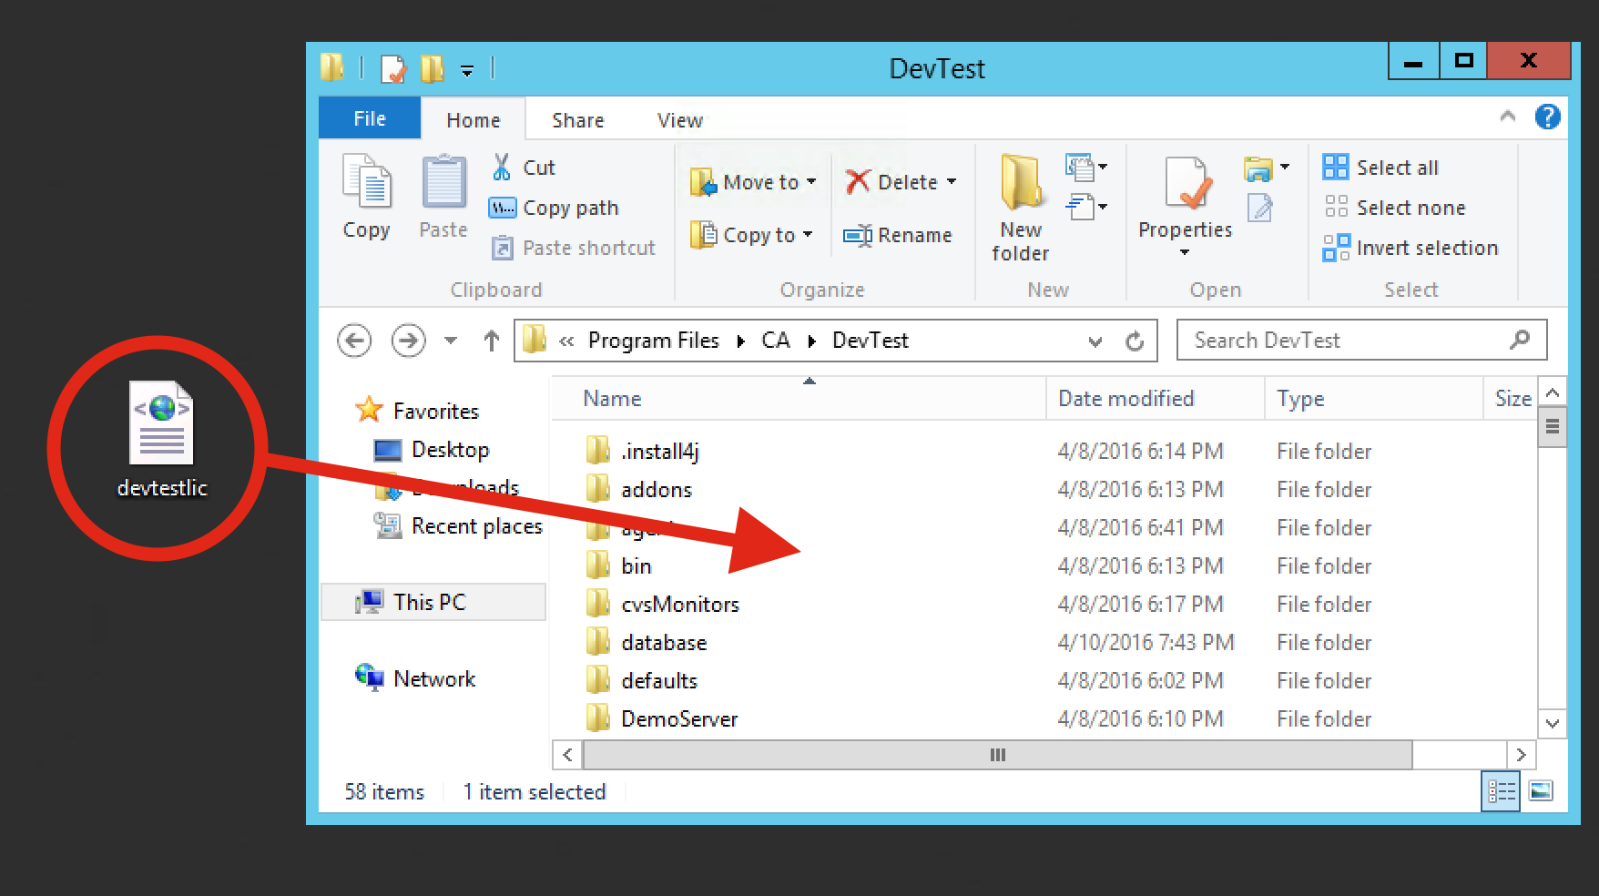
2. Place the devtestlic.xml file in the install directory for CA Service Virtualization - C:\Program Files\CA\DevTest
3. Start the DevTest Services in the order listed below - Note all services are readily accessible on the bottom toolbar on your Desktop

- 1. Start Enterprise Dashboard Server (wait until ready)
- 2. Start Registry (wait until ready)
- 3. Start Virtual Service Environment
- 4. Start Portal
- 5. Start Simulator
- 6. Start Coordinator
4. Open the Portal UI and Get Started!
Double Click on the "DevTest Portal UI" and sign in with the default user name/password - admin/admin

Here's a video on using the tool...
How to Get Started with CA Service Virtualization on Demand in Microsoft Azure - YouTube