Summary:
This documents outline steps that needs to be followed while applying CR (cumulative release) patch on Single Sign-On Policy Server.
Environment:
- Policy Server Version : r12.5 and above
- OS : :Any
Instructions:
Pre-requisites
- (UNIX) If you execute the Policy Server across different subnets, it can crash. Run the Policy Server installer directly on the host system.
- (UNIX) Apply the Policy Server patch using an account with at least the same permissions as the user who installed the Policy Server. For example, if a root user installed the Policy Server, apply the Policy Sever patch using a root user.
- (UNIX) The user account applying the patch on the Policy Server must have executable permissions on the directory that contains the installation media. If the user account does not have these permissions, run the following command:
chmod +x installation_media
Before you apply patch
Step 1 : Remove the Policy Server from the environment by stopping it. Removing the Policy Server
prevents CA Single Sign-On Agents from contacting the Policy Server during the upgrade.
Step 2 : Shut down all instances of the Policy Server Management Console.
Step 3 : Backup Policy server installation directory.
Step 4 : Backup Policy Store
Perform full policy store backup using following XPSExport command :
XPSExport fullpolicystore.xml -xb -npass
Step 5 : Backup Policy store at LDAP/ODBC level
If possible it is also advisable to backup policy store data at the LDAP or ODBC level as
applicable.
For e.g. for the LDAP store, a full LDIF export backup can be performed. Similarly, for say
ODBC policy store, the full backup of the policy store database can be done.
Step 6 : Break Policy store replication (if any)
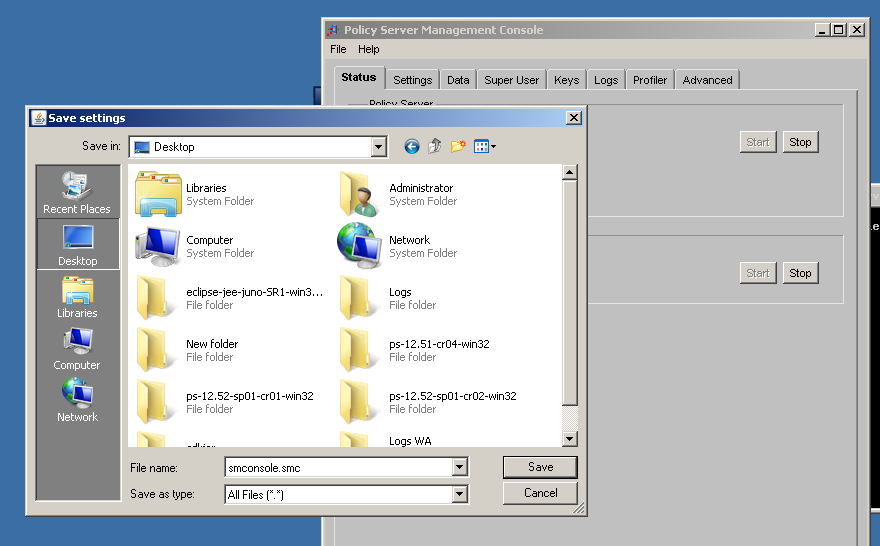
Step 7 : Backup local configurations using the Policy Server Management console.
File --> Save Settings --> Save as "smconsole.smc"
This will be handy to revert any local configuration if it gets reset to default during the patching
process (which is not expected).
Apply Patch
Step 1 : Download the latest (or recommended) CR binary from support.ca.com website.
Step 2 : (Unix) Source the policy server environment script (ca_ps_env.ksh) from the policy server
installation directory
Step 3 : Navigate to the installation executable directory and execute the installer.
Step 4 : The installer prompts you to select the components. When selecting components:
- Reconfigure components that had been previously configured for the environment. Be sure to select the respective components. (e.g web server)
- During the upgrade, leave the policy store check box on the configuration wizard cleared to preserve your existing policy store. If you check this, this might reset your policy store.
- However, the configuration wizard prompts you for the encryption key for the advanced authentication server. This key is stored on each Policy Server, but all Policy Servers require the same key.
- Use the same encryption key for the Advanced Authentication server that you used previously.
Apply Policy Store Fix
You can refer to r12.x policy store upgrade procedure for this :
How to Upgrade an r12.x Policy Store - CA Single Sign-On - 12.52 SP1 - CA Technologies Documentation
You would basically have to run following command :
Step 1 : Open a command window and navigate to siteminder_home\xps\dd and run following command :
XPSDDInstall SmMaster.xdd
Step 2 : Open a command window and navigate to siteminder_home\db and run following command :
XPSImport smpolicy.xml -npass , or
XPSImport smpolicy-secure.xml -npass
Step 3 : Run XPSSweeper
Step 4 : Restart Policy server
Additional Information:
N/A